Introduction
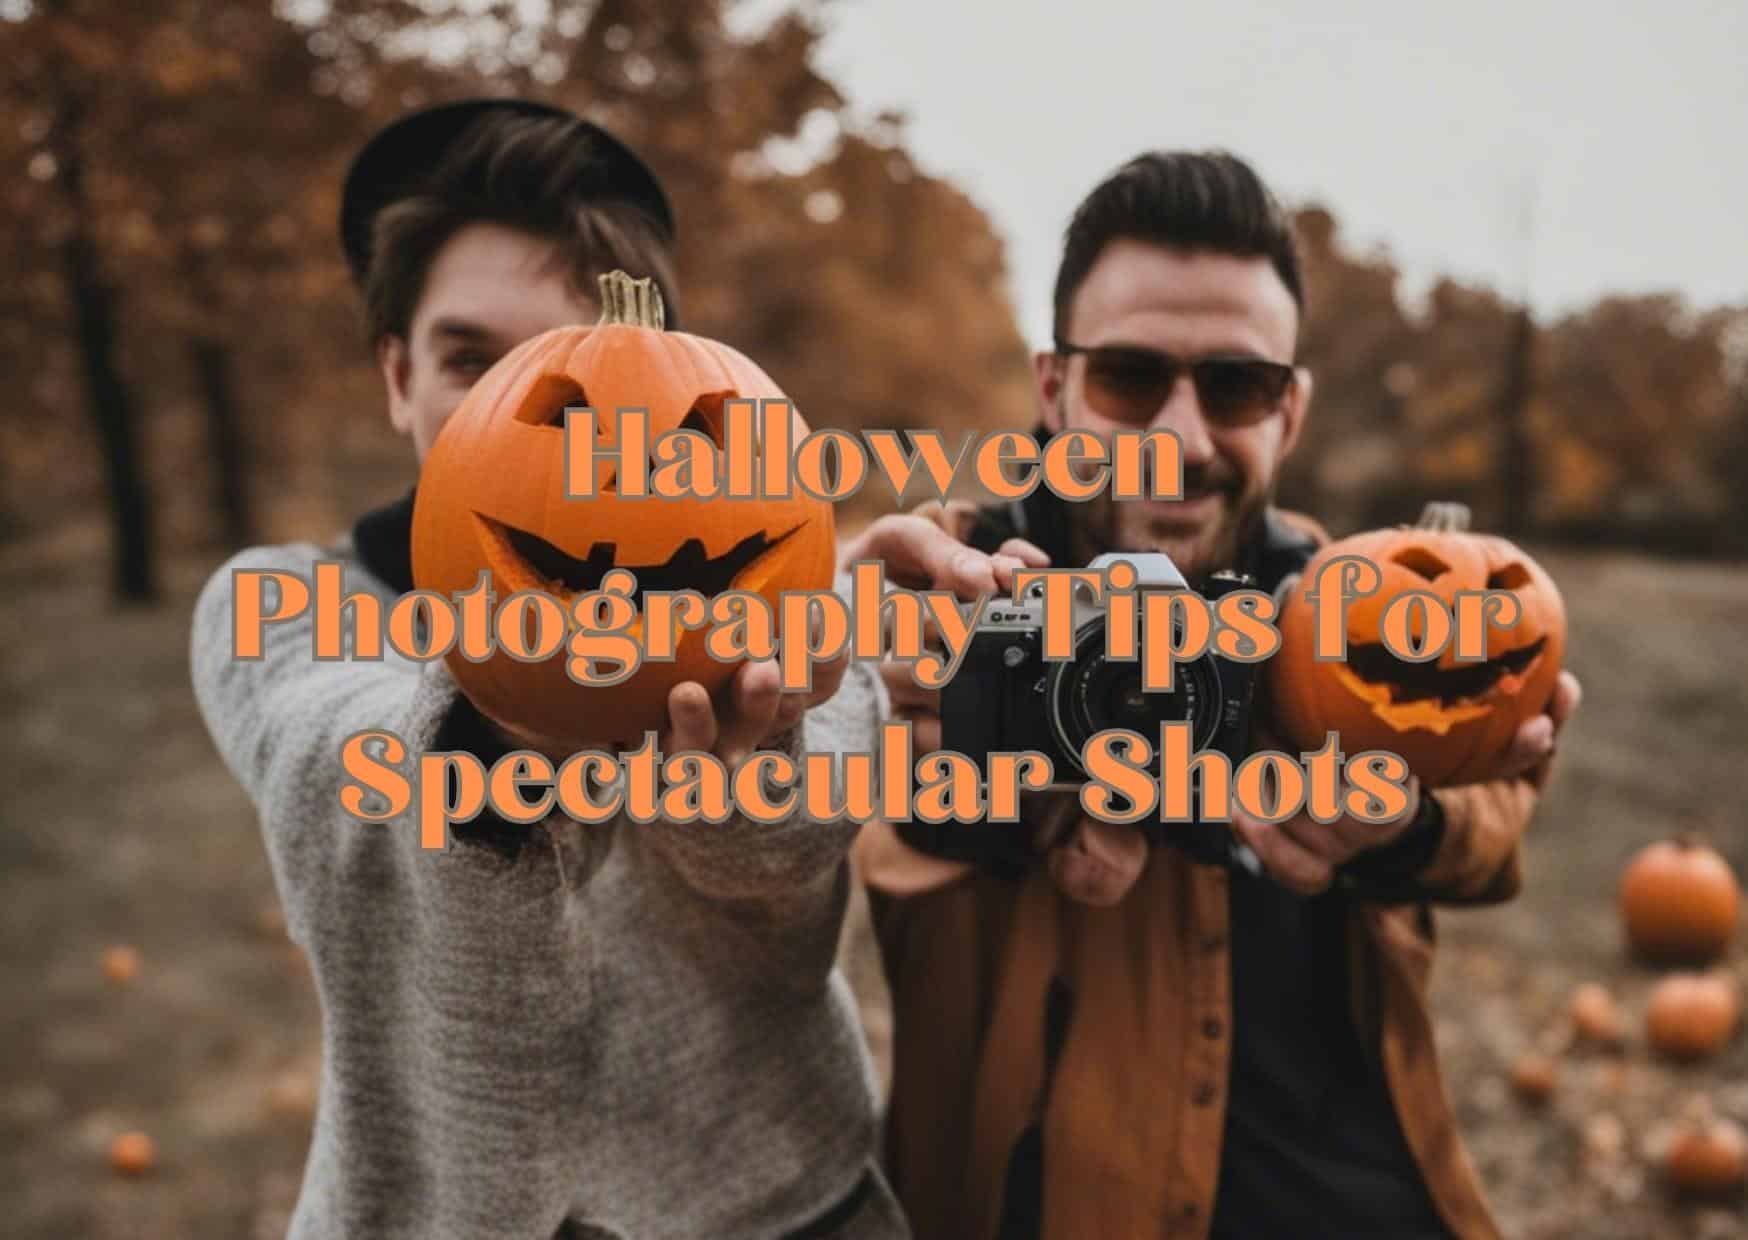
Ignite your cameras, summon the spirits of creativity, and dare to venture through the enchanting realm of Halloween photography. Ladies and gentlemen, ghouls and ghosts, welcome to our guide about Halloween photography tips to clicking bewitchingly brilliant Halloween shots.
As the bewitching hour draws near and the veil between worlds thins, it’s time to dust off your DSLR cameras or smartphones, awaken your artistry, and capture the spectral allure of the night. Halloween teems with high drama, suspenseful scenarios, and ethereal aesthetics that, if captured creatively, can create visually stunning results.
Whether you’re an amateur or a professional, this guide will help you navigate through the fascinating labyrinth of Halloween night-time photography. Perfect your skills, explore fresh perspectives, and embrace fresh styles to bring alive the supernatural splendor of All Hallows’ Eve. Brace yourself, cope with the chills and thrills, and let’s hocus focus on the captivating world of Halloween photography.
Importance of Halloween photography
Have you ever paused to consider how incredible Halloween photography can be? Ensuring the vibrancy of All Hallows Eve captured for eternity, its importance goes beyond just dark spectacles and macabre enchantments. Let’s dive into the festive darkness and uncover the compelling reasons to consider Halloween-themed photography.
Firstly, the art of Halloween photography provides an unparalleled opportunity to flex your creative muscle, experimenting with lighting, composition, and themes. Classic Halloween themes conceal a myriad of stories to narrate, moving far beyond simple scare tactics to transport the viewer into an enchanting, and yes, at times grim tale.
Secondly, Halloween memories shine brighter through photos. They aren’t merely snapshots of costumed people or spooky decors; they encapsulate the very essence of mystique and merriment. From children’s gleeful shrieks, as they prance around in their ghostly get-ups to grownups living their surreal fantasies, the brevity of these moments implores us to capture them in the breadth of our lenses.
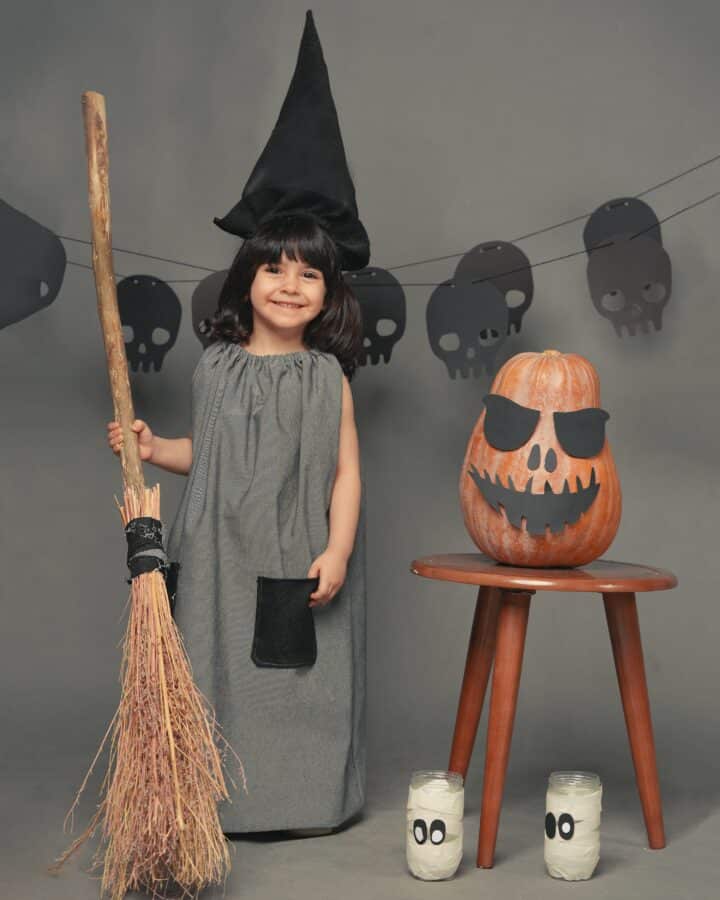
The final, yet significant, aspect of Halloween photography concerns tradition and nostalgia. Halloween, as we know it, is steeped in folklore and customs, some stretching back centuries. When you photograph Halloween, you seize glimpses of this shared story and carry forth its continuity in your images. Each photo taken becomes a part of a narrative that lives far beyond our fleeting celebrations, a potent reminder of candlelight flickering within a carved pumpkin or the sparkle in the eyes of a child, weaving magic into their very first witch’s cape.
In essence, Halloween photography holds the allure of creating, preserving, and transferring tales spun on the bewitching Halloween night. So, ready your camera, welcome the approaching Halloween glow and let’s plunge into the pool of eeriness together!

Halloween Photography Tips and Tricks for Spectacular Shots
Preparing for the Shoot
As the veil between worlds begins to thin, it’s time to plan for an epic Halloween photo shoot. Many variables need to be taken into account to guarantee mesmerizing shots, but the spirits of anticipation and preparedness will guide you. Let’s delve into the nitty-gritty of planning your eerie shoot.
A. Location Scouting
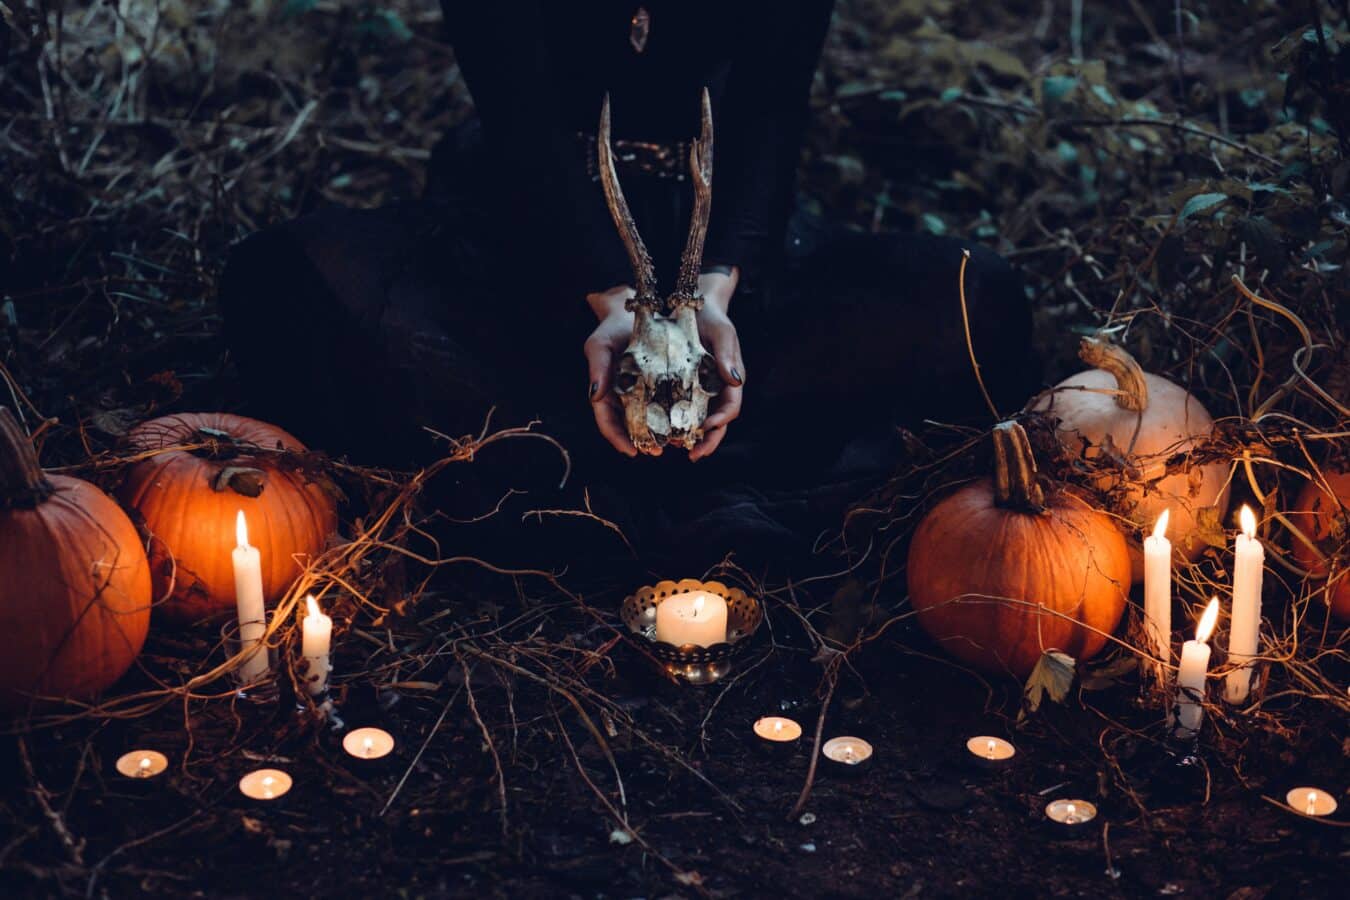
Your Halloween photography starts with the perfect haunted haven. While a cobweb-covered, moonlit graveyard might seem like a cliché, remember, location is incredibly crucial to setting the mood. Consider whether your locale has a credible ghoulish ambiance. Is it an old, abandoned house with stories of phantom sightings, or an archaic forest with eerie outlines and stark silhouettes?
Examine the area for unique attributes that add character – from gnarled trees to faded tombstones, every detail matters. In your explorations, don’t rule out everyday places such as parks, city streets, or even your own backyard. With the right props and lighting, anywhere can harbor the supernatural.
B. Costume and Prop Coordination
There’s joy in the pretend here, where costumes and props transform mere mortals into otherworldly creatures. The coordination of these elements is essential to create an enchanting blend of fantasy and reality. Begin by matching the theme of your shoot with the costume and props. Should your subject be a charming witch, a polite ghost, or a prowling werewolf?
Consider the colors of your costumes too. Deep reds, eerie greens, or murky purples can blend into the supernatural scheme of things, while bright hues tend to be jarring. The key lies in achieving a harmony of colors that scream Halloween without looking cartoonish. As for props, think of lanterns, brooms, magic wands, or tombstones – just make sure they complement the overall aesthetic and don’t steal the show.
C. Timing and Weather Considerations
To capture all these ghoulish delights, it’s important to understand that timing can be your greatest ally or the vilest villain. The eerie atmosphere of dusk or dawn can be the perfect backdrop. The delicate transition between day and night, often referred to as the golden hour, can gift you with just the right concoction of light and shadow.
On the other hand, considering the weather is just as vital. A foggy morning brings forth an ambiance of haunted elusiveness, while a full-moon night can cast long, eerie shadows. However, adverse weather can also play spoilsport, so always have a rain-safe, wind-protected, contingency location – after all, the Halloween show must go on!

Creative Composition
A. Rule of thirds and framing
In the realm of photography, the Rule of Thirds is a fundamental concept. Picture your viewfinder divided into nine equal sections by two horizontal and two vertical lines. Place your subject along those lines or at their intersections for a balanced, engaging image. Framing, on the other hand, is all about using elements within your scene to create a ‘frame’ around your subject. It’s a technique that draws the viewer’s eye to that primary focus, like magic!
B. Low-angle and high-angle shots
Picture this: you’re low on the ground, camera pointing up, and all of a sudden, your subject looks incredibly grand, almost supernatural. That’s the power of Low-Angle Shots. Conversely, a Highngle Shot from an elevated perspective can render your subject smaller, sometimes vulnerable, giving a whole new dimension to your photo narratives. Dive into these angles this Halloween, and who knows? The results might scare you (in a good way).
C. Leading lines and symmetry
Leading Lines are a path for the eye, a guide towards your main subject, the star of your picture. Use the inherent lines in your Halloween setting to cast this spell. Then, there’s the magic symmetry brings! Symmetry can be bewitchingly beautiful, giving a wonderfully balanced, pleasing effect to your shots. So, don’t hesitate to get symmetrical this spooky season!
Lighting Techniques
Lighting—the grandeur of photography! Without it, our stunning Halloween shots would be lackluster, appearing as nothing more than dreary flat images. Here, we shall delve into the mysterious depths of lighting techniques, uncovering their bewitching power to transform your photos from the mundane to the absolutely breathtaking. Let the exploration begin!
A. Ambient vs. artificial lighting
Does it surprise you to know that the natural glow of a moonlit night can compete fiercely with the most expensive studio lights? Ah, the enchanting beauty of ambient lighting. But wait, we mustn’t uplift it while discrediting artificial lighting – the heart of indoor photography. On the dreary and chilly Halloween night, their efficient and easily controllable nature comes as a lifesaver!
B. Use of flash and off-camera lighting
Close your eyes, and imagine flashes of light cutting through the eerie darkness, creating horrifying shadows and highlights. It’s the magic of on-camera flash! But, this tale of light doesn’t stop here. Have you ever thought about off-camera lighting? Position them strategically to cast spine-chilling shadows and turn your ordinary scene into a Halloween masterpiece.
C. Light painting for eerie effects
And now for the grand finale—light painting. Imagine wielding your flashlight as a paintbrush, dashing streaks of light through an otherworldly scene. Block out everything else, and let the ethereal glow lead the viewer’s eyes. Yes, it’s advanced wizardry, my friends! But, if mastered, it promises Halloween pictures that are nothing short of spectacular.
Capturing Spooky Details
No Halloween shot would be complete without that little ‘extra’ that makes the hairs on the back of your neck stand up in anticipation.
- Get up-close and personal: There’s a whole world of strange and spooky things waiting to be discovered in Halloween decorations. Try taking close-ups of cobwebs, carved pumpkins, or crinkled leaves for that eerily detailed look.
- Cast some shadows: Use creative lighting to cast long shadows that bring out the ghostly elements of your shots. Experiment with different angles and intensities to find the scariest and most captivating poses.
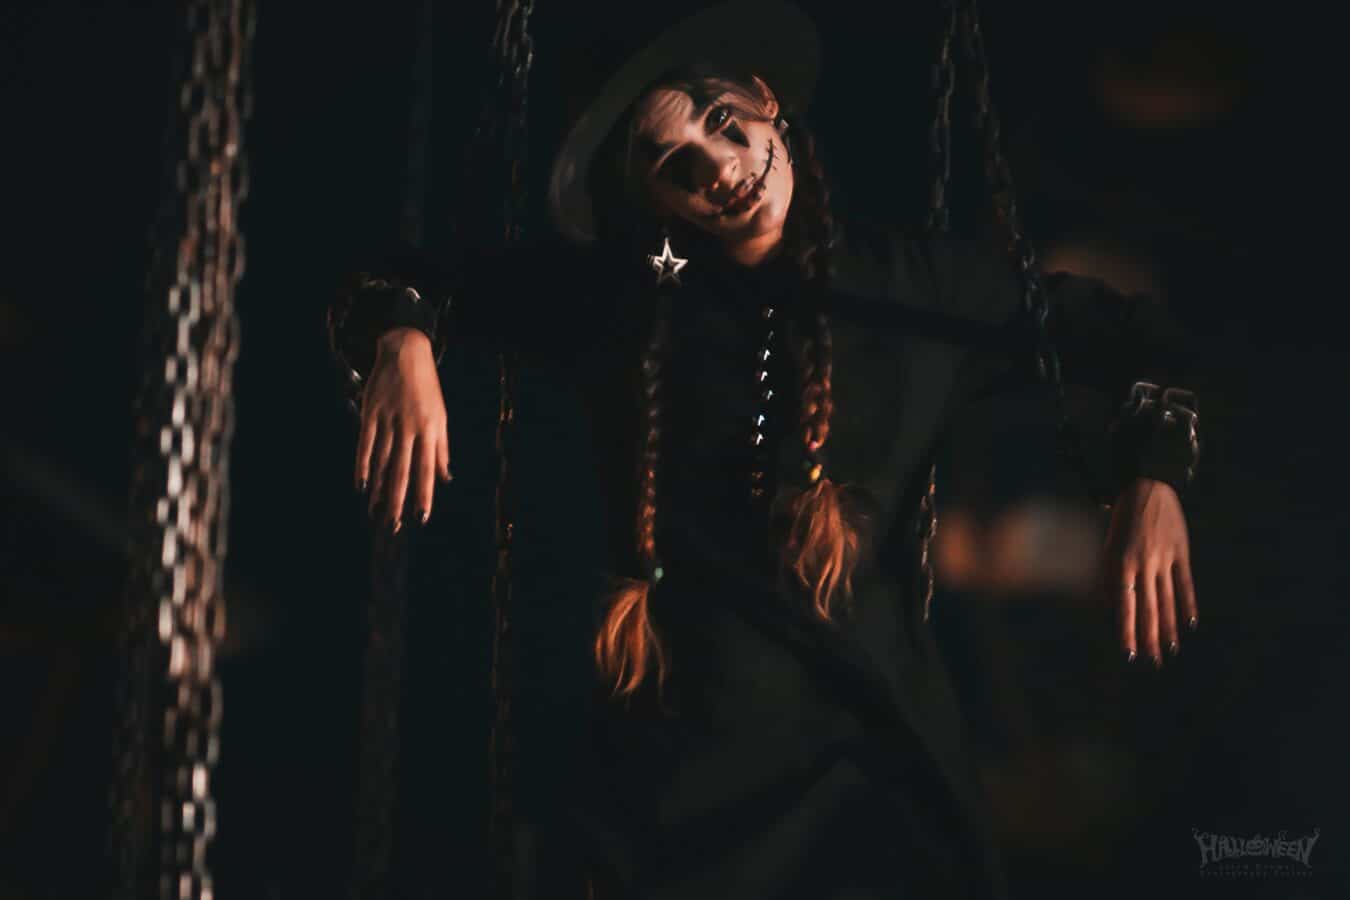
- Silhouettes and backlights: The ethereal outlines of figures against a dimly lit background can be incredibly spooky. Use backlighting to create dramatic, haunting silhouettes.
Poses and Expressions
Photography is all about capturing the essence of its subject. For Halloween, this essence is often tinged with a blend of mystery, suspense, and dread.
- Going for the Scream: Capture your subjects mid-chuckle or in the midst of a blood-curdling scream. These sudden movements will bring you to photo life.
- The Haunting Gaze: Direct your subjects to look off into the distance, as if seeing something terrifying only they can see. This engenders a sense of impending doom in the viewer.
- The Frozen Stare: That moment of paralyzing fear can be an incredibly effective subject for a Halloween photo. Encourage your subjects to stare into the camera as if frozen in fear.

Post-Processing for Halloween Vibes
“In the world of photography, it’s not the camera but the magician who makes the real magic happen, and post-processing is their spellbook.”
Photo editing is an essential skill for every photographer, and Halloween photography is no exception.
- Wash out the colors: Try desaturating your photos or using a sepia filter. This will give your photos an aged, vintage feel.
- Amplify the shadows: Enhance contrasts between lighter and darker areas to bring out hidden details and add drama.
- Apply a cool tone: Use color grading to add a cool, eerie tone to your photos, making them distinctly Halloween-esque.
Safety and Respect
While photographing Halloween, it’s crucial to prioritize safety and show respect for your subjects. Always ask for consent before photographing someone and remember to respect private property.
Additionally, be conscious of any potential hazards to yourself or others when setting up shots. Good photography never requires risking yourself or others.
Sharing and Showcasing Your Halloween Photos
Once you’ve gone through the thrill of capturing Halloween and have edited your photos, it’s time to share your work.
| Social Media Platform | Tips |
|---|---|
| Use relevant tags (#halloween, #spooky, etc.). Post on optimal times for maximum exposure. | |
| Create a photo album and share it with your network. Engage with anyone who comments or shares your photos. | |
| Use clear descriptions and keywords to allow others to find your Halloween photography ideas. |
Conclusion
Photographing Halloween can be a thrilling experience, teeming with the excitement of creating lasting memories from fleeting moments.
Whether you want to capture the eerie essence of your own Halloween decorations, or the delightful terror painted across the faces of trick-or-treaters, these tips will provide you with the necessary knowledge to capture Halloween’s mystical charm.
Remember, the keyword during Halloween photography is always “creativity”. Don’t be afraid to push boundaries. After all, it’s the time of year when the rules are meant to be bent a little. So go out there, and create some magic of your own
FAQs
1. What type of camera should I use for Halloween photography?
While it certainly depends on your skill level and budget, generally, a DSLR or mirrorless camera is recommended because of its superior low light performance and flexibility. However, even a sophisticated smartphone with a good camera can suffice in the right conditions.
2. How can I create a spooky atmosphere in my photos?
There are countless ways to infuse your photos with the eerie ambiance of Halloween! Use creative lighting, fog machines, set up macabre props, or capture your subjects in dramatic costumes. Harvest the power of post-production to further enhance the mood.
3. What are the best settings for night photography?
This can vary significantly based on the specifics of your camera and the scene you’re shooting. Generally, however, you should look to a higher ISO, a wide aperture (low f-stop number), and a slower shutter speed. Always make sure to balance these to avoid overexposure or blurry photos.
4. How can I make my subjects stand out in low light?
You might consider using a technique called low-key lighting. This involves using a single, targeted light source to illuminate your subject while keeping most of the scene dark. This creates a dramatic, atmospheric effect perfect for Halloween.
5. Can you recommend any software for post-production?
Adobe Lightroom and Photoshop are industry standards when it comes to photo editing. They allow you to tweak lighting, color, contrast, and more, and even add special effects. For beginners, Snapseed or VSCO might be easier to start with
The editorial team at Cubebik Blog is a group of dedicated individuals with a passion for words and a commitment to quality. They work tirelessly to ensure that every article is well-researched, informative, and error-free.

