Introduction
Father’s Day is a special occasion to honor the dads in our lives, celebrating their love, guidance, and the pivotal role they play. What better way to showcase our appreciation than with Father’s Day crafts? Handmade gifts are not just creative expressions; they carry a personal touch that commercial items simply can’t match. Crafting these gifts together can also be a fun, bonding activity for the whole family. So, let’s dive into some unique Father’s Day craft ideas that will make this Father’s Day unforgettable and show dad just how much he means to us.
Why Choose Handmade Father’s Day Crafts?
Father’s Day craft ideas are not just about creating something; they’re about personalizing every detail to reflect the unique bond between a father and his children. A handmade gift carries the maker’s personal touch, showcasing their thoughtfulness and effort. This goes beyond mere aesthetics—each stroke, cut, or stitch is infused with love and care, transforming simple materials into precious tokens of affection. Such Father’s Day handmade gift ideas become more than gifts; they are heartfelt expressions that deeply resonate with dads.
Moreover, the act of crafting these gifts together can significantly enhance family bonds. Engaging in Father’s Day craft ideas is a fun and meaningful way for families to spend quality time together. This shared experience not only helps in creating beautiful, lasting keepsakes but also in building cherished memories. It’s these moments of laughter, creativity, and collaboration that often mean the most, making the gift all the more special.
Craft Ideas for Young Children
Handprint Art
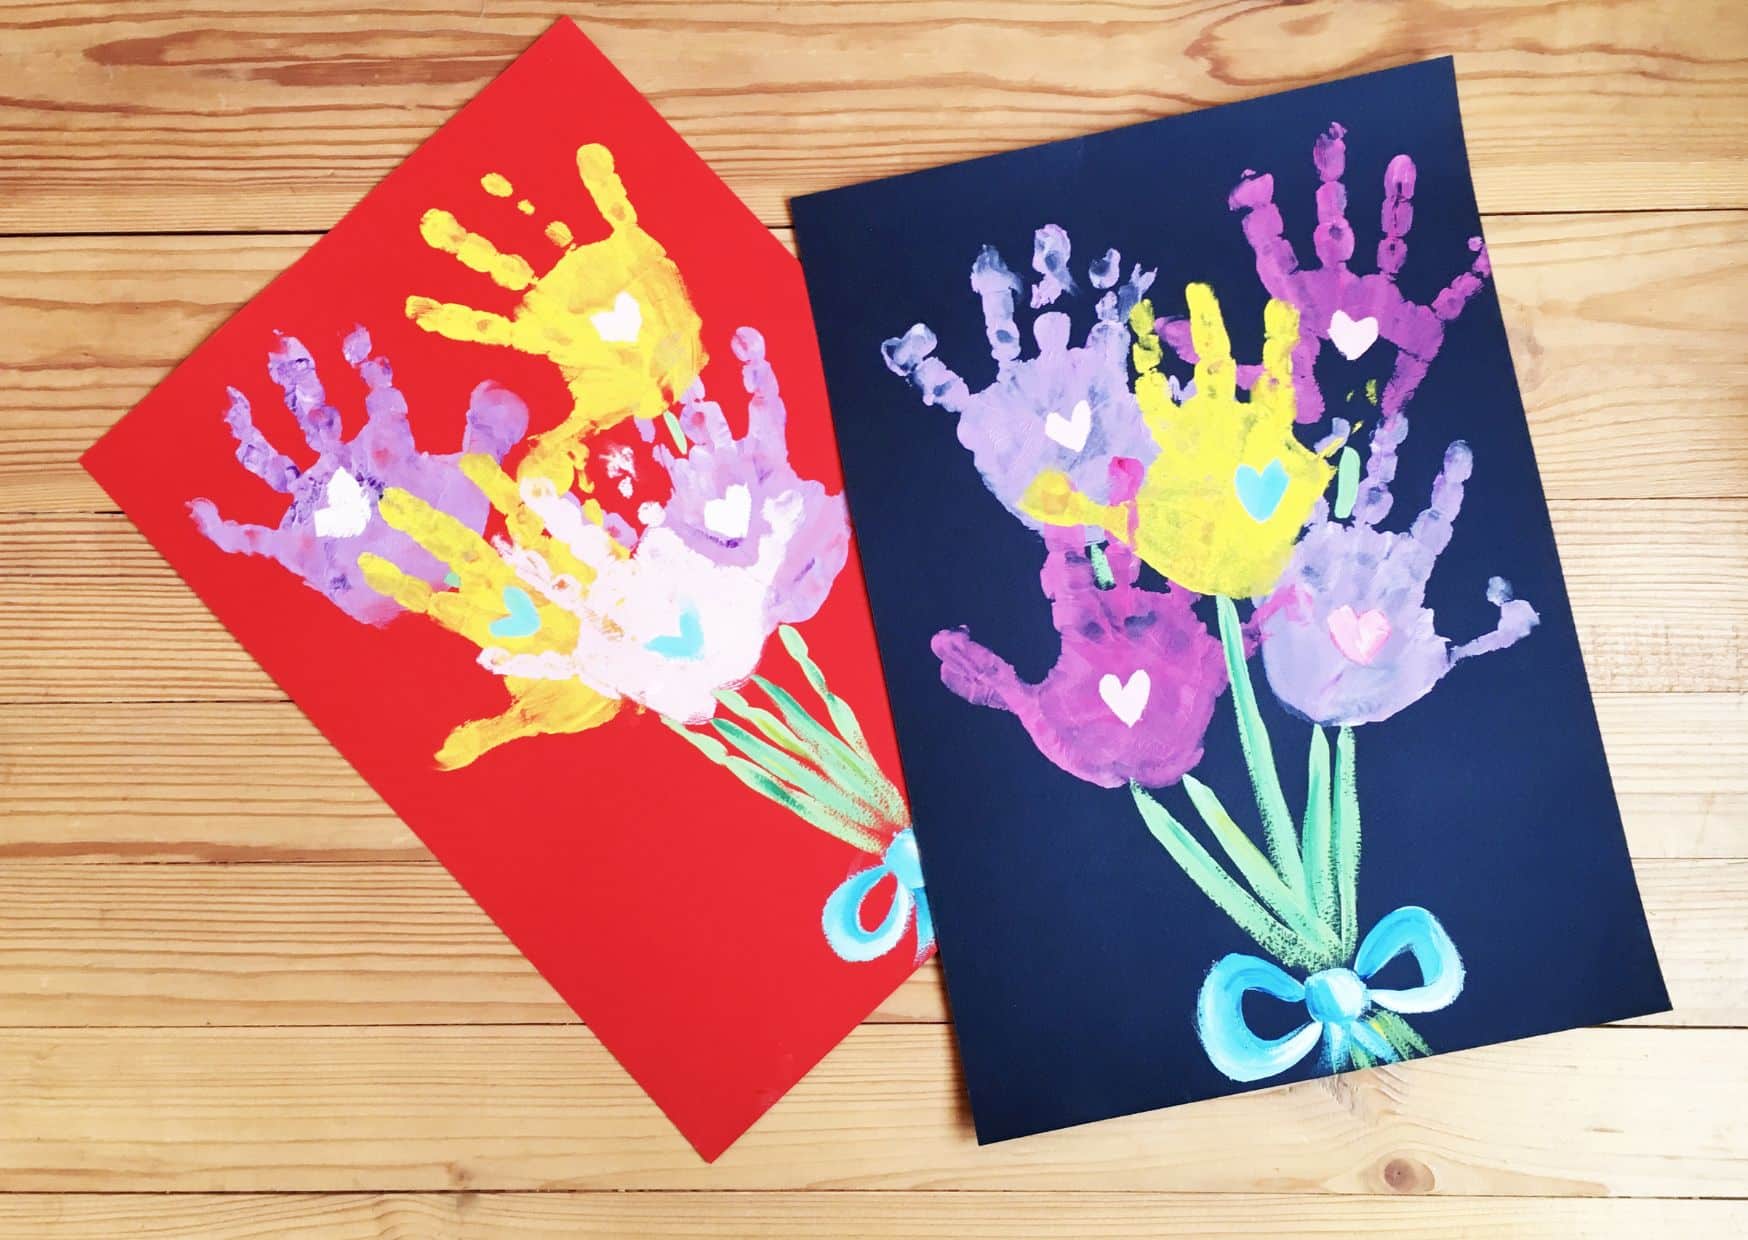
Handprint art is a delightful and simple activity that ranks high among preschool crafts for Father’s Day. It’s especially suited for young children, including toddlers, allowing them to create a personal gift that dads will cherish. Here’s a detailed step-by-step guide to creating handprint art:
Materials Needed:
- Non-toxic paint (various colors)
- A shallow dish or paper plate
- Heavy paper or canvas
- Paintbrush (optional)
- Frame (for presenting the finished artwork)
Steps:
- Prepare the Work Area:
- Cover your work surface with newspapers or a disposable tablecloth to protect it from paint spills.
- Dress your child in old clothes or a smock to avoid staining their garments.
- Pour the Paint:
- Choose a color or multiple colors of non-toxic paint and pour them into shallow dishes. If you have multiple colors, you can either mix them for a marbled effect or keep them separate.
- Paint the Hand:
- If your child is comfortable, you can directly dip their hand into the paint dish. For toddlers who might find this unsettling, use a paintbrush to gently apply paint to their hands. Ensure the hand is completely covered for a clear print.
- Create the Handprint:
- Gently press your child’s painted hand onto the chosen paper or canvas. Make sure to press each finger and the palm down firmly to get a good imprint.
- Carefully lift the hand straight up to avoid smudging.
- Wash Hands:
- Immediately after making the print, wash your child’s hand with soap and water to remove the paint.
- Let It Dry:
- Set the paper or canvas aside in a safe place to dry completely. Avoid touching the print until it’s fully dry to prevent smudges.
- Add Details:
- Once the print is dry, you and your child can add details to transform the handprint. For example, turn the print into a tree by drawing a trunk and grass at the bottom, or make each finger a colorful petal of a flower.
- Frame the Artwork:
- To give this craft as a gift, place the dried handprint art in a nice frame. Choose a frame that complements the art style and adds an elegant touch.
For an even more personalized gift, consider a custom frame with an engraved plaque that includes a special message and your name
Decorative Bookmarks
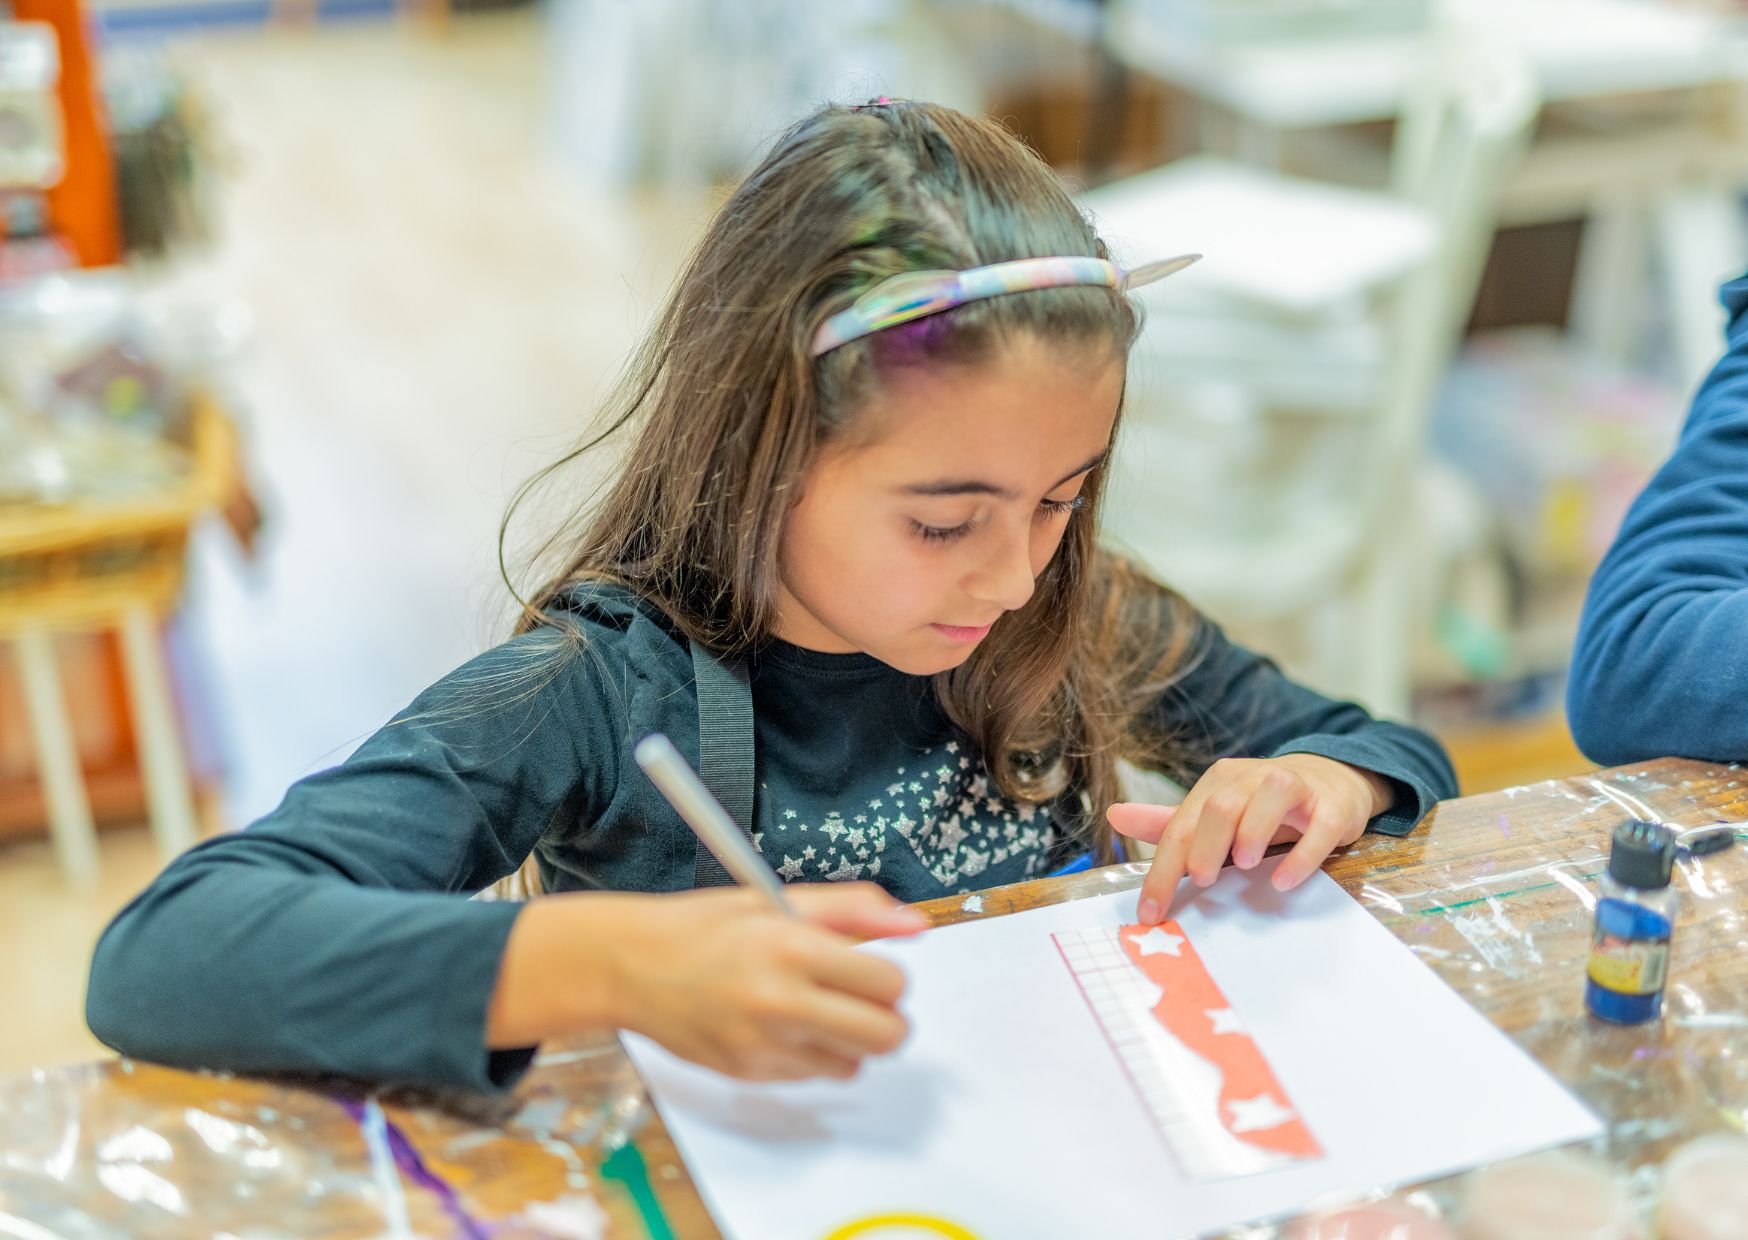
Decorative bookmarks are excellent Father’s Day crafts for kindergarteners and preschoolers. These handmade bookmarks are not only functional but also provide a thoughtful gift for dads who love reading. Here’s a detailed guide on how to craft a personalized bookmark:
Materials Needed:
- Sturdy cardstock
- Crayons, markers, or colored pencils
- Stickers or embellishments
- Scissors
- Laminating sheets or contact paper
- Hole punch (optional)
- Ribbon or yarn (optional)
Steps:
- Prepare the Bookmark Base:
- Begin by cutting the cardstock into rectangles to create the base of the bookmark. A standard size is approximately 2 inches by 6 inches, but you can adjust based on your preference.
- Decorate with Drawings:
- Encourage your child to use crayons, markers, or colored pencils to decorate the bookmark. They can draw a picture of themselves with their dad, or perhaps something dad loves, like a favorite hobby or animal. This is a great opportunity for children to express their creativity and personalize their Father’s Day crafts.
- Add a Personal Message:
- On the back of the bookmark or at the bottom, help your child write a heartfelt message such as “I love you, Dad” or “Happy Father’s Day.” This adds a personal touch that will surely make the bookmark special for dad.
- Embellish:
- Allow your child to embellish the bookmark with stickers or small craft items that can be glued on. Choose themes that correspond with Father’s Day or interests that their dad enjoys.
- Laminate the Bookmark:
- To ensure durability and make the bookmark last longer, laminate it. If you don’t have a laminator, cover both sides of the bookmark with clear contact paper, trimming the edges to leave a small margin. This step is particularly important as it protects the artwork and writing from wear and tear.
- Punch a Hole and Add a Tassel:
- If desired, use a hole punch to make a hole at the top of the bookmark. Thread a piece of ribbon or yarn through the hole and tie it off to create a tassel. This not only enhances the bookmark’s appearance but also makes it easier to find pages in a book.
Customized Picture Frames
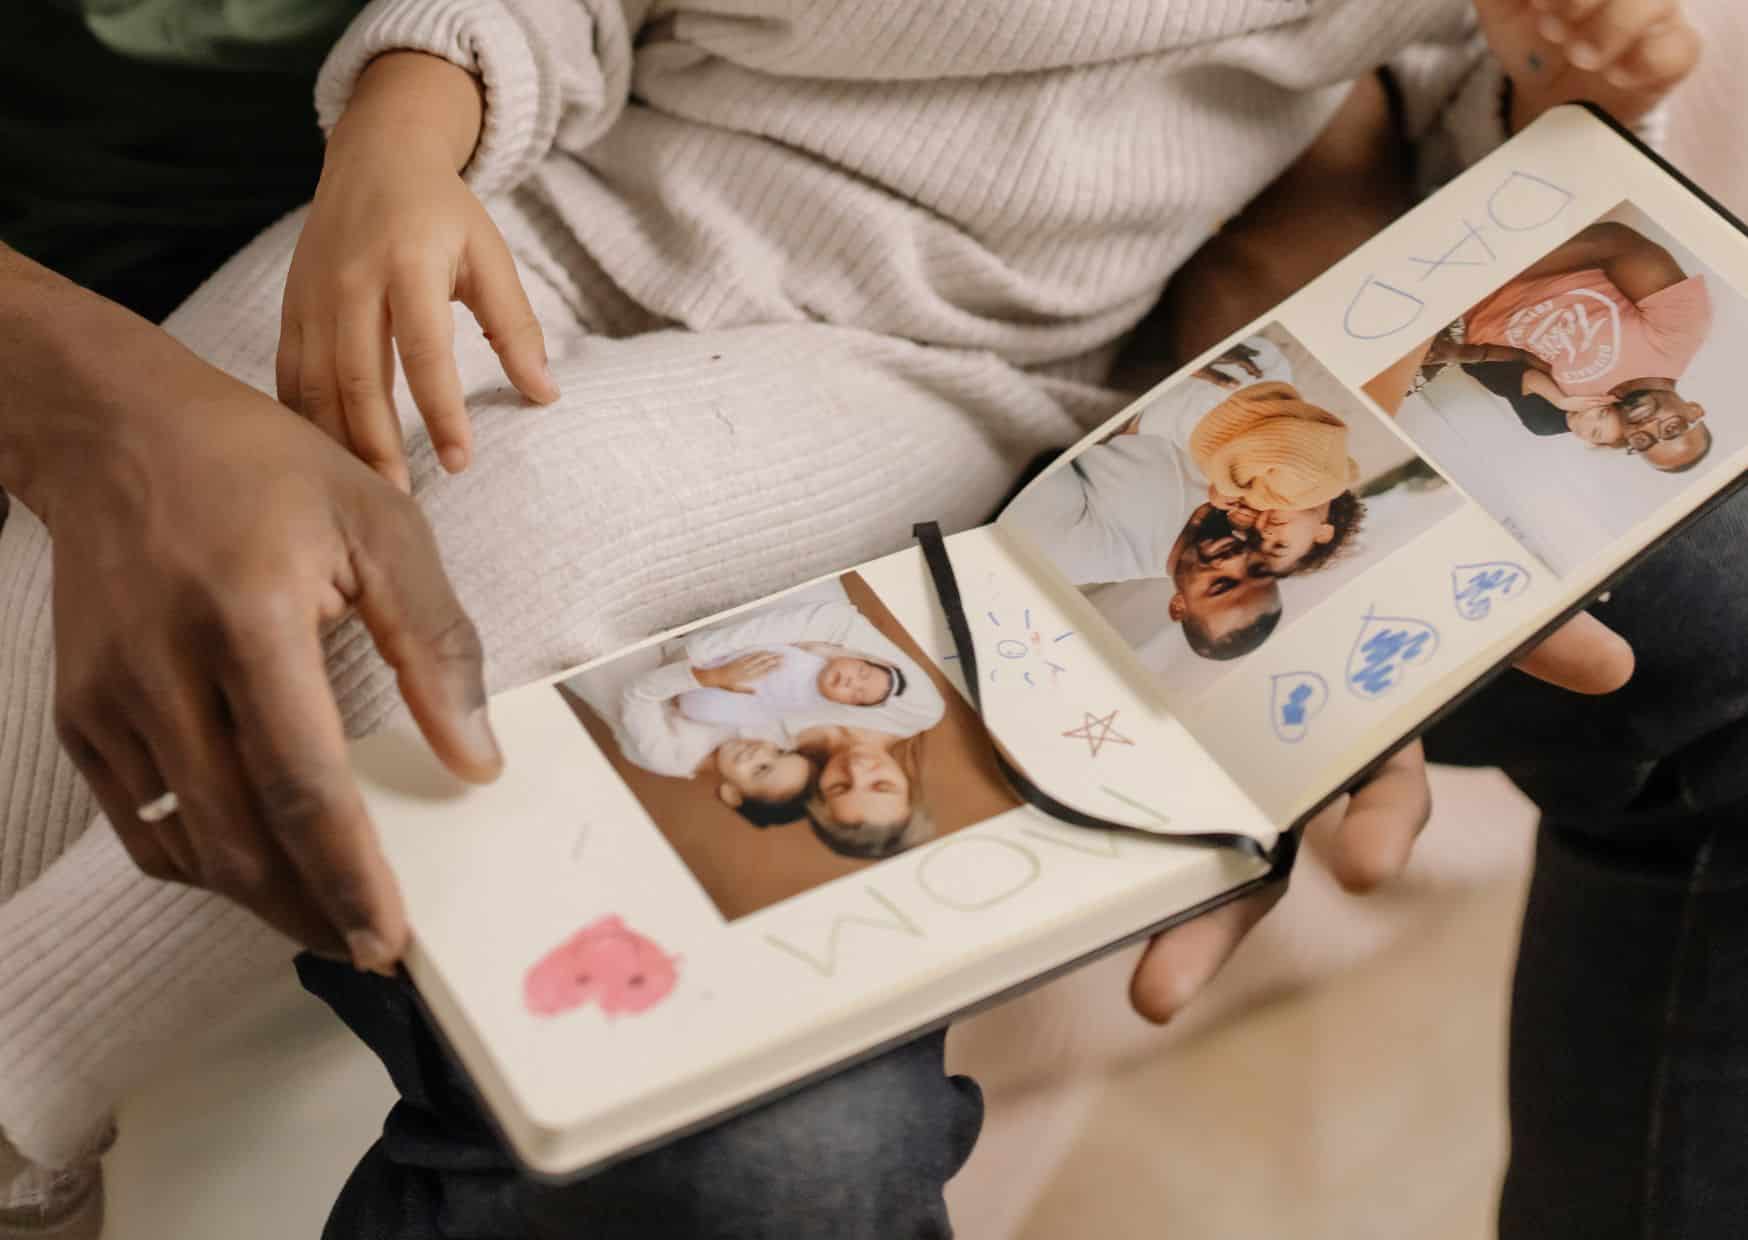
Creating a customized picture frame is one of the perfect DIY Father’s Day crafts that allows children to give a personal and functional gift to their dads. This project is suitable for kids of all ages, including kindergarteners, with just a little guidance. Here’s a detailed step-by-step guide to making a handmade picture frame:
Materials Needed:
- Popsicle sticks
- Glue (craft glue or hot glue gun, supervision required)
- Paint (non-toxic)
- Decorations like sequins, buttons, small beads
- Clear tape
- Scissors
- Photograph
- Cardboard (optional, for backing)
Steps:
- Frame Assembly:
- Begin by laying out your popsicle sticks to form a square or rectangle, depending on the size of the photograph you plan to frame. You typically need four sticks to form each corner, but you can adjust the size by adding more sticks.
- Glue the corners together securely. For younger children, it’s advisable to use craft glue for safety; older children can use a hot glue gun with adult supervision.
- Reinforce the Frame:
- If needed, glue additional sticks across the back for added stability. This step is especially useful if you’re creating a larger frame.
- Decorate the Frame:
- Once the glue has dried and the frame is stable, it’s time to paint. Allow your child to choose their favorite colors to paint the frame. Wait for the paint to dry completely.
- After painting, add decorations. Children can glue on sequins, buttons, beads, or any other decorative items to personalize the frame. This is where kids can get creative and make the frame reflect their dad’s personality or interests.
- Prepare the Photo:
- Cut a piece of cardboard to fit as a backing for your photo. This step is optional but helps support the photo in the frame.
- Secure the photo to the cardboard with tape, then tape both securely to the back of the frame.
- Finishing Touches:
- Ensure all elements are dry and firmly attached. You can add a stand made from an additional popsicle stick glued horizontally across the back or simply add a magnet to turn it into a fridge decoration.
- Final Presentation:
- Encase the frame in a thoughtful gift wrap or accompany it with a card crafted by the child. This personalized picture frame transcends mere crafting; it becomes a treasured keepsake. Consider enhancing the card with heartfelt quotes for dads to add an extra layer of personalization and sentimentality, making the gift even more special and memorable.
This Father’s Day craft for kids not only provides a fun and engaging activity but also helps in developing their motor skills and creativity. By participating in such DIY Father’s Day crafts, children learn the value of giving something handmade, which can be more meaningful than anything bought from a store.
Projects for Older Children and Teens
DIY Tie or T-shirt Painting
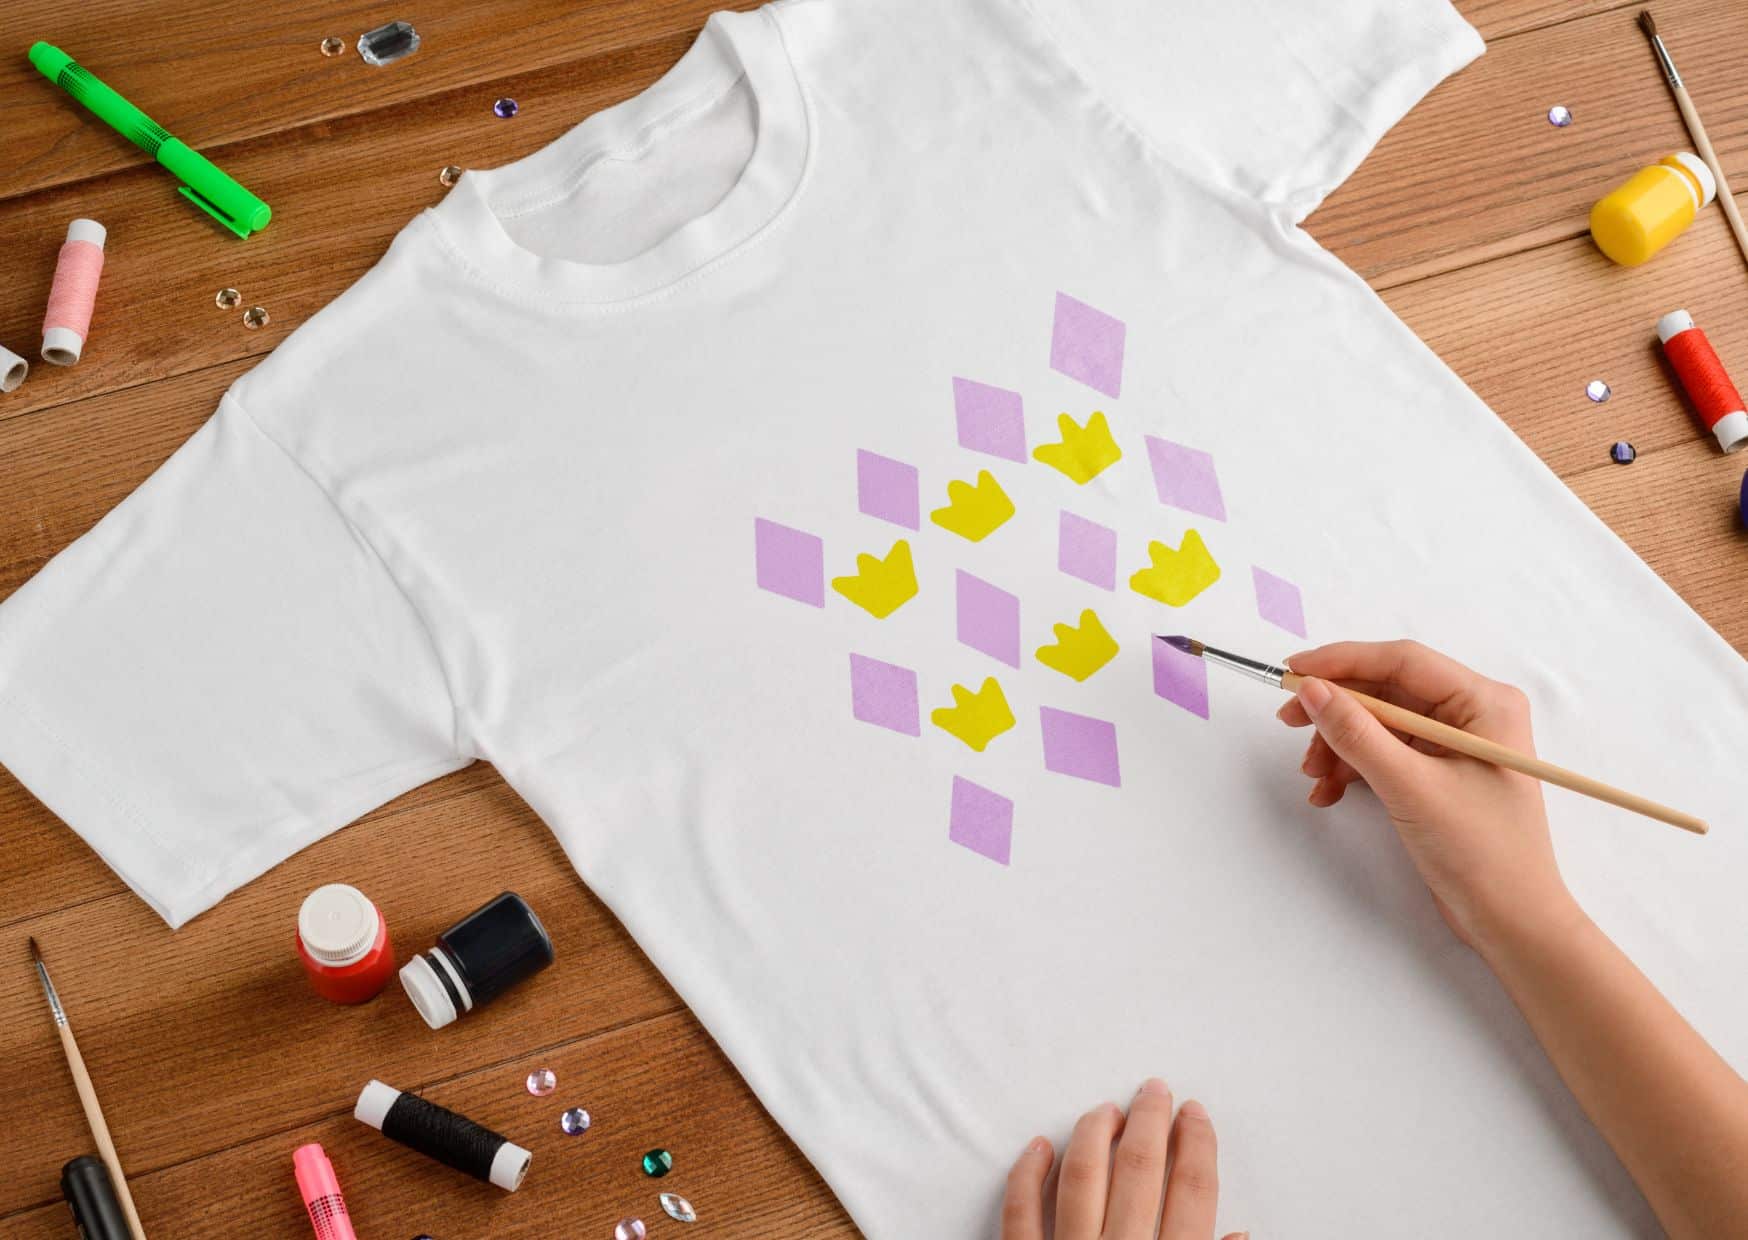
For teens seeking to create a unique and personalized gift this Father’s Day, DIY tie or T-shirt painting is an excellent option. This project is a perfect example of Father’s Day crafts for kids and teens that allows for artistic expression, resulting in a wearable piece of art that any dad would treasure.
Materials Needed:
- Plain tie or T-shirt
- Fabric paints
- Paintbrushes or sponges
- Cardboard or plastic sheet (to prevent paint bleeding)
- Stencils or masking tape (optional, for designs)
Steps:
- Prepare the Fabric:
- Wash and dry the tie or T-shirt to remove any residues that may affect paint adherence. Iron out any wrinkles to ensure a smooth painting surface.
- Design Your Pattern:
- Plan your design. You can freehand draw or use stencils for more precise patterns. Masking tape can help create straight lines or geometric patterns.
- Set Up Your Workspace:
- Insert a piece of cardboard inside the T-shirt or under the tie to prevent paint from bleeding through to the other side.
- Paint Your Design:
- Apply fabric paint using brushes or sponges. For a tie, a simple, elegant design works best, whereas a T-shirt might allow for larger, more colorful creations.
- Let It Dry:
- Allow the paint to dry completely, following the fabric paint instructions. Some paints might require a setting with an iron.
Homemade Keychains
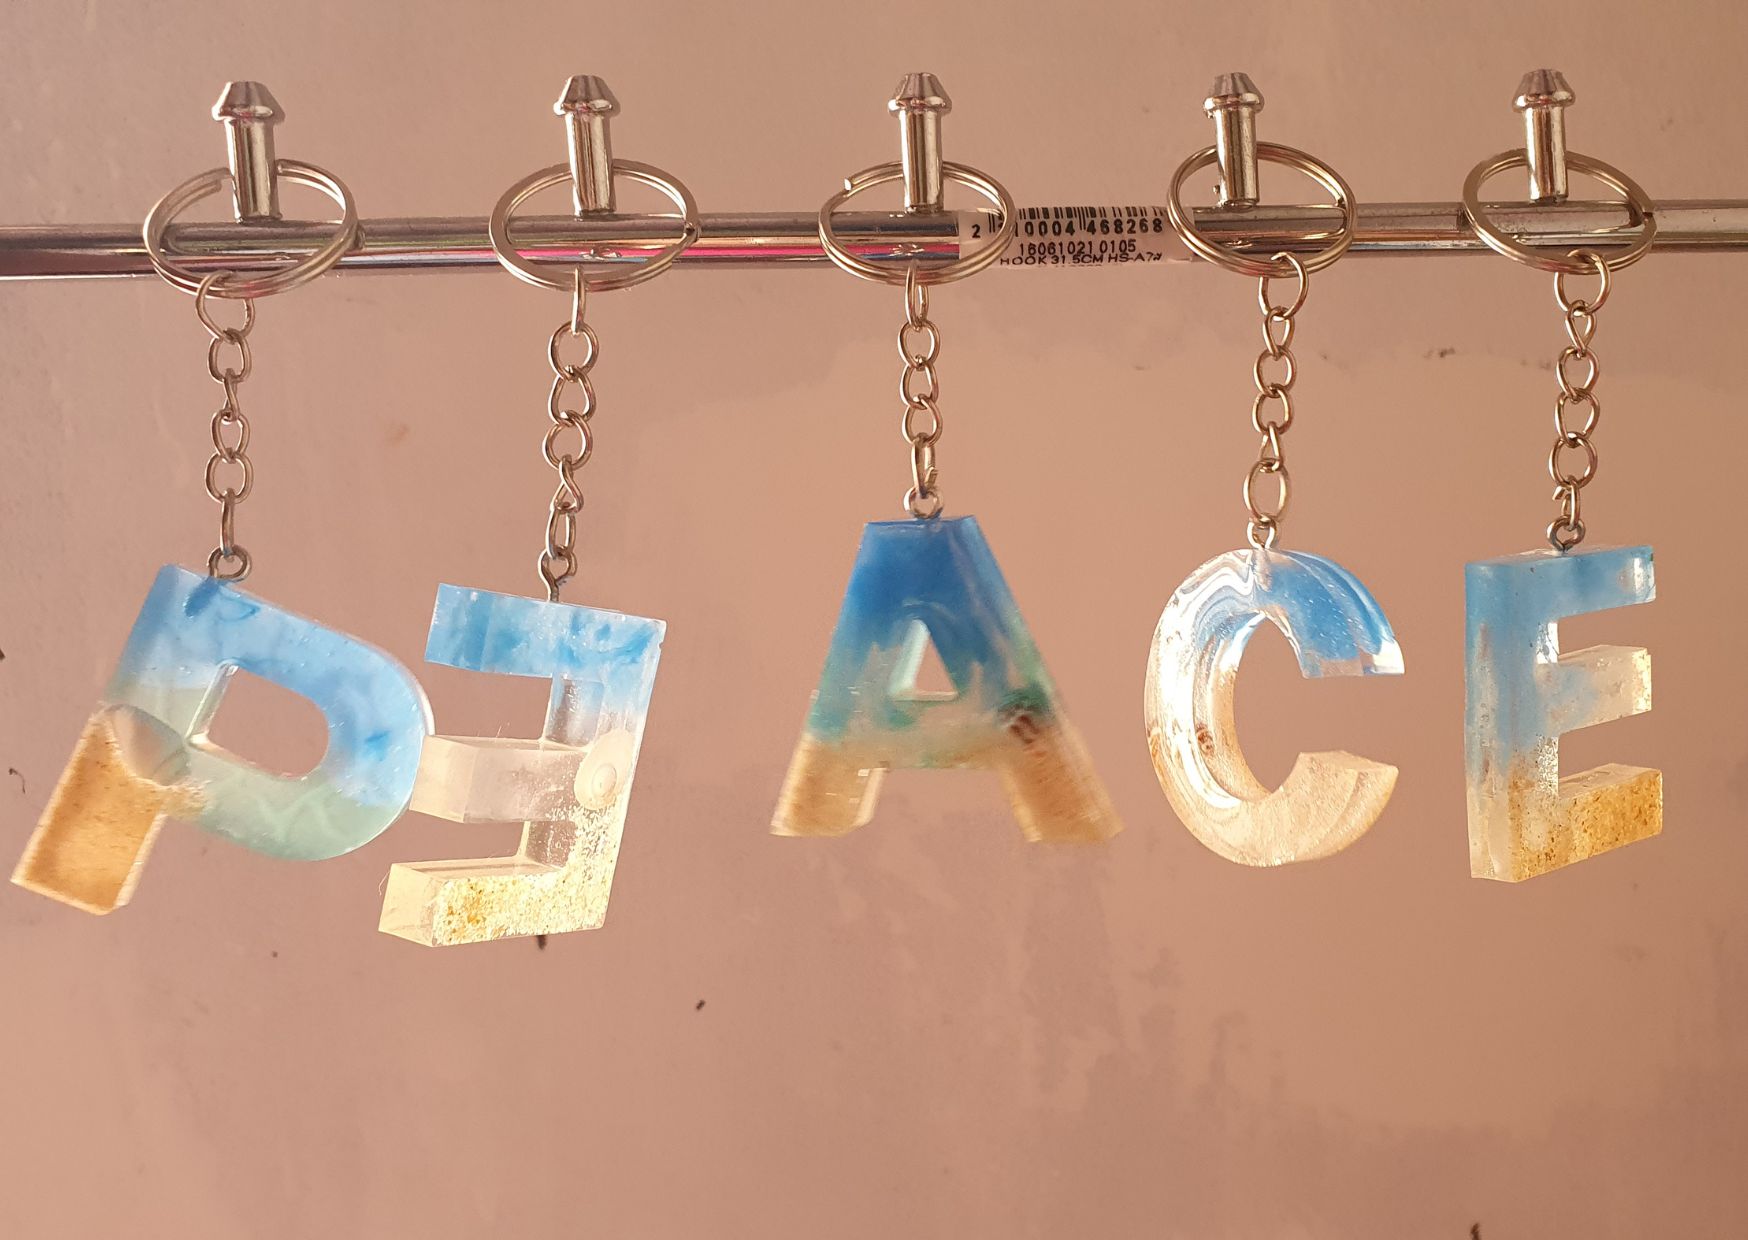
Creating shrink-plastic keychains is one of the fun and easy Father’s Day crafts for teens. These can be personalized with drawings or messages, making them a special keepsake.
Materials Needed:
- Shrink plastic sheets
- Colored pencils or permanent markers
- Hole punch
- Keychain rings
- Oven or toaster oven
Steps:
- Design and Color:
- Cut the shrunk plastic into your desired shape. Draw your design on the rough side of the plastic using colored pencils or markers.
- Punch a Hole:
- Before baking, punch a hole where you want the keychain ring to go.
- Bake the Plastic:
- Follow the instructions on the shrink plastic package for baking. Typically, this involves placing the plastic pieces in a preheated oven and watching them shrink.
- Assemble the Keychain:
- Once cooled, attach the keychain ring through the hole.
For additional guidance and creative ideas on making DIY keychains using everyday items, check out this YouTube video: DIY KEYCHAINS using things you already have. The video provides clear instructions and tips that will help you craft unique keychains easily and effectively.
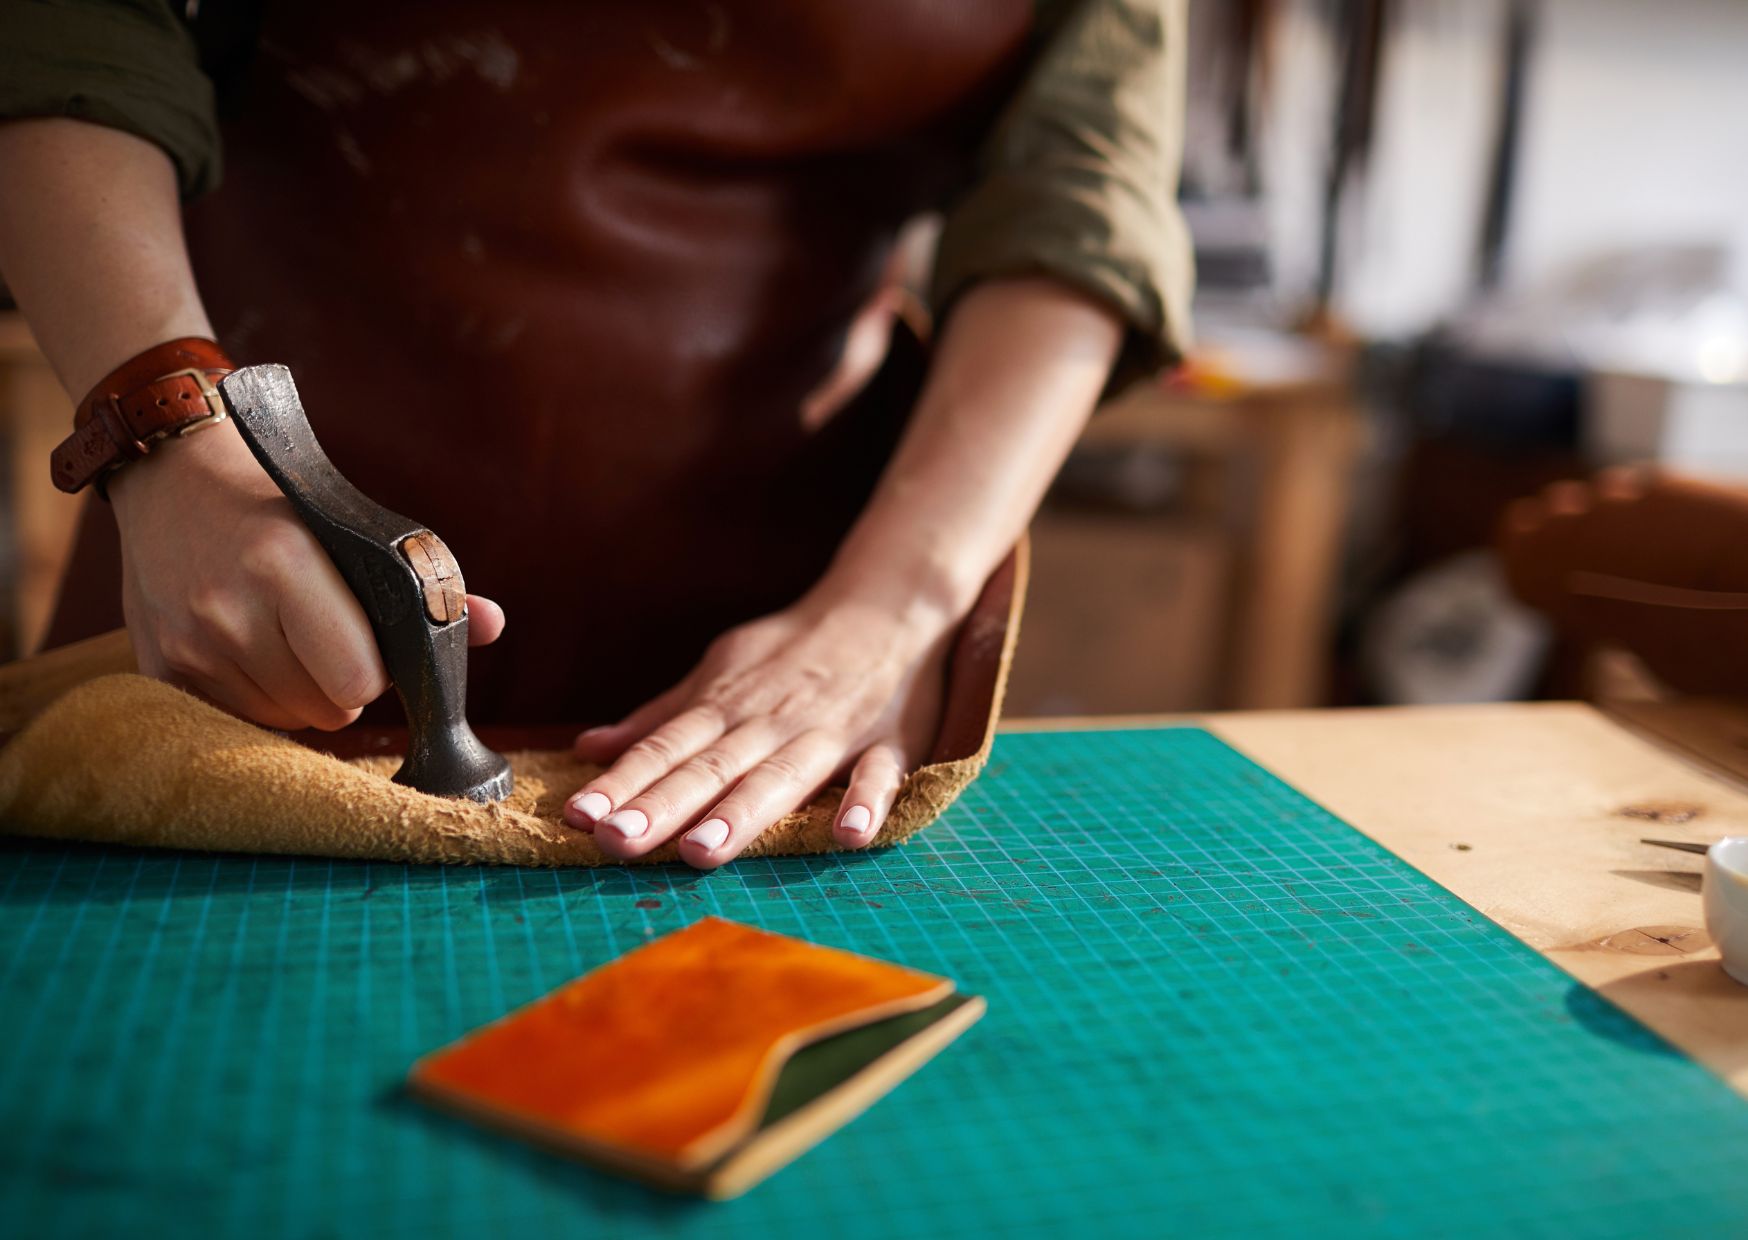
Leather crafting is a rewarding skill for older kids and teens to develop, and creating a simple leather wallet or bracelet is a great start.
Leather Wallet or Bracelet
Materials Needed:
- Leather sheets or scraps
- Leather crafting tools (hole punch, needles, thread)
- Patterns or templates
- Snap or button kit (for closure)
Steps:
- Cut the Leather:
- Use patterns or templates to cut the leather into the shape needed for a wallet or bracelet.
- Punch Holes:
- If sewing or adding snaps, punch holes accordingly.
- Assemble:
- Sew the pieces together using a needle and thread or use a snap kit to add closure to a bracelet.
- Customize:
- Personalize by stamping or engraving initials or a small message.
Family Collaboration Projects
Photo Memory Book

Creating a photo memory book is a heartfelt and enduring Father’s Day craft that encapsulates cherished moments spent with dad. This project is an excellent opportunity for the whole family to collaborate and reflect on wonderful memories.
Materials Needed:
- Photo album or scrapbook
- Printed photos
- Decorative paper and stickers
- Glue sticks or photo-safe adhesive
- Markers, pens, and other writing instruments
- Additional scrapbooking supplies (e.g., stamps, ribbons)
Steps:
- Gather Materials:
- Collect all the photos you want to include in the memory book. Choose a variety of images that capture special moments.
- Prepare the Album:
- Select a blank photo album or scrapbook that will serve as the base for your memory book.
- Design Layouts:
- Organize your photos and decide on the layout for each page. You might include themed pages by event, holiday, or year.
- Decorate Pages:
- Use decorative paper as background and embellish with stickers and other scrapbooking materials. Encourage each family member to decorate a page, writing captions or memories associated with the photos.
- Assemble the Book:
- Glue the photos and decorations onto the pages, ensuring everything is securely attached.
Garden Stepping Stones
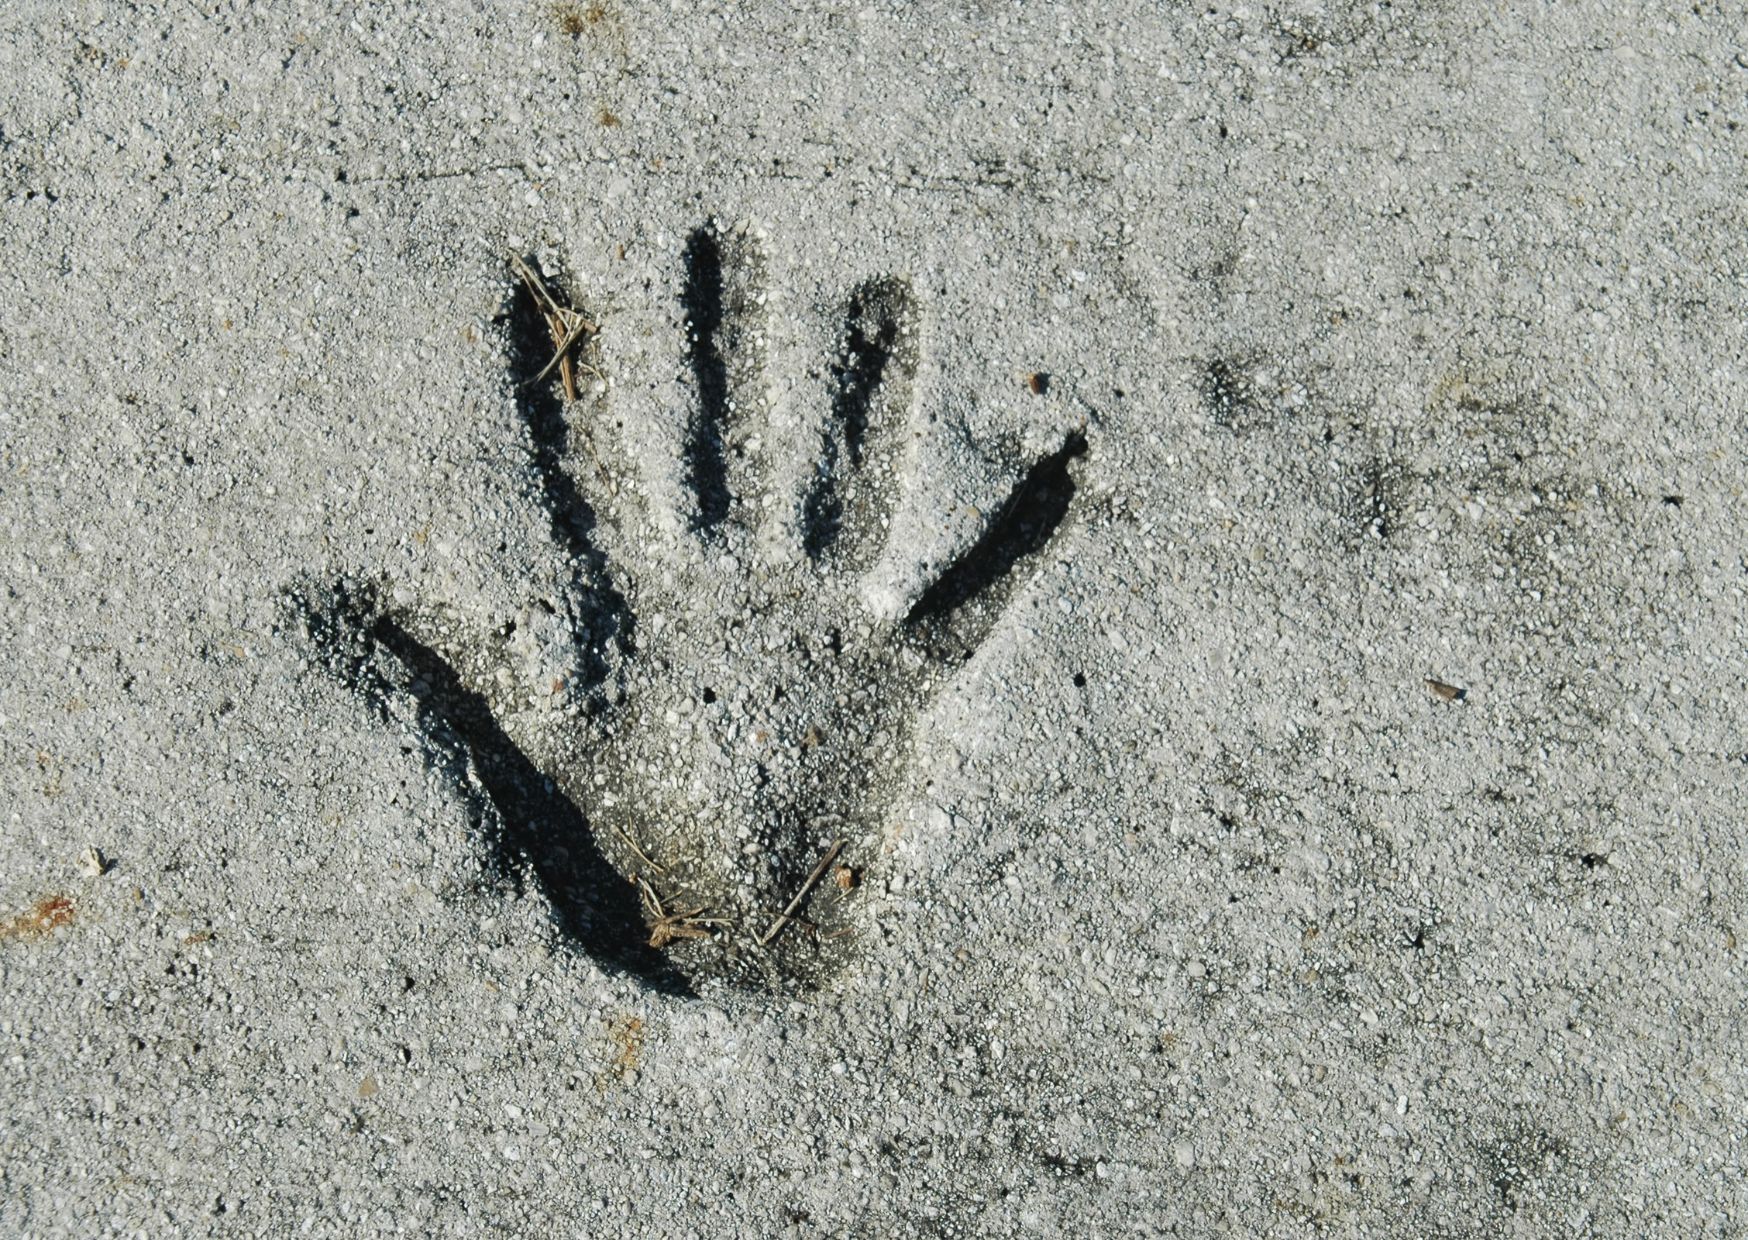
Garden stepping stones are a durable and creative Father’s Day craft that can beautify the family garden while preserving memories. Incorporating family handprints or special messages makes this project uniquely personal.
Materials Needed:
- Stepping stone mold
- Concrete mix
- Water and mixing tools
- Decorative elements (e.g., colored glass, stones, marbles)
- Permanent markers or paint for messages
Steps:
- Prepare the Mold:
- Use a round or square stepping stone mold. Clean and dry it before use.
- Mix Concrete:
- Mix the concrete according to the package instructions. Make sure it has a thick, pourable consistency.
- Pour Concrete:
- Carefully pour the mixed concrete into the mold, smoothing the top with a trowel or similar tool.
- Add Handprints and Messages:
- Before the concrete sets, have each family member press their hand into the surface and/or write messages with a stick or the back of a paintbrush.
- Decorate:
- Place decorative stones, glass, or marbles around the handprints or along the edges.
- Let It Cure:
- Allow the stepping stone to cure for at least 48 hours before removing it from the mold.
Custom Board Games
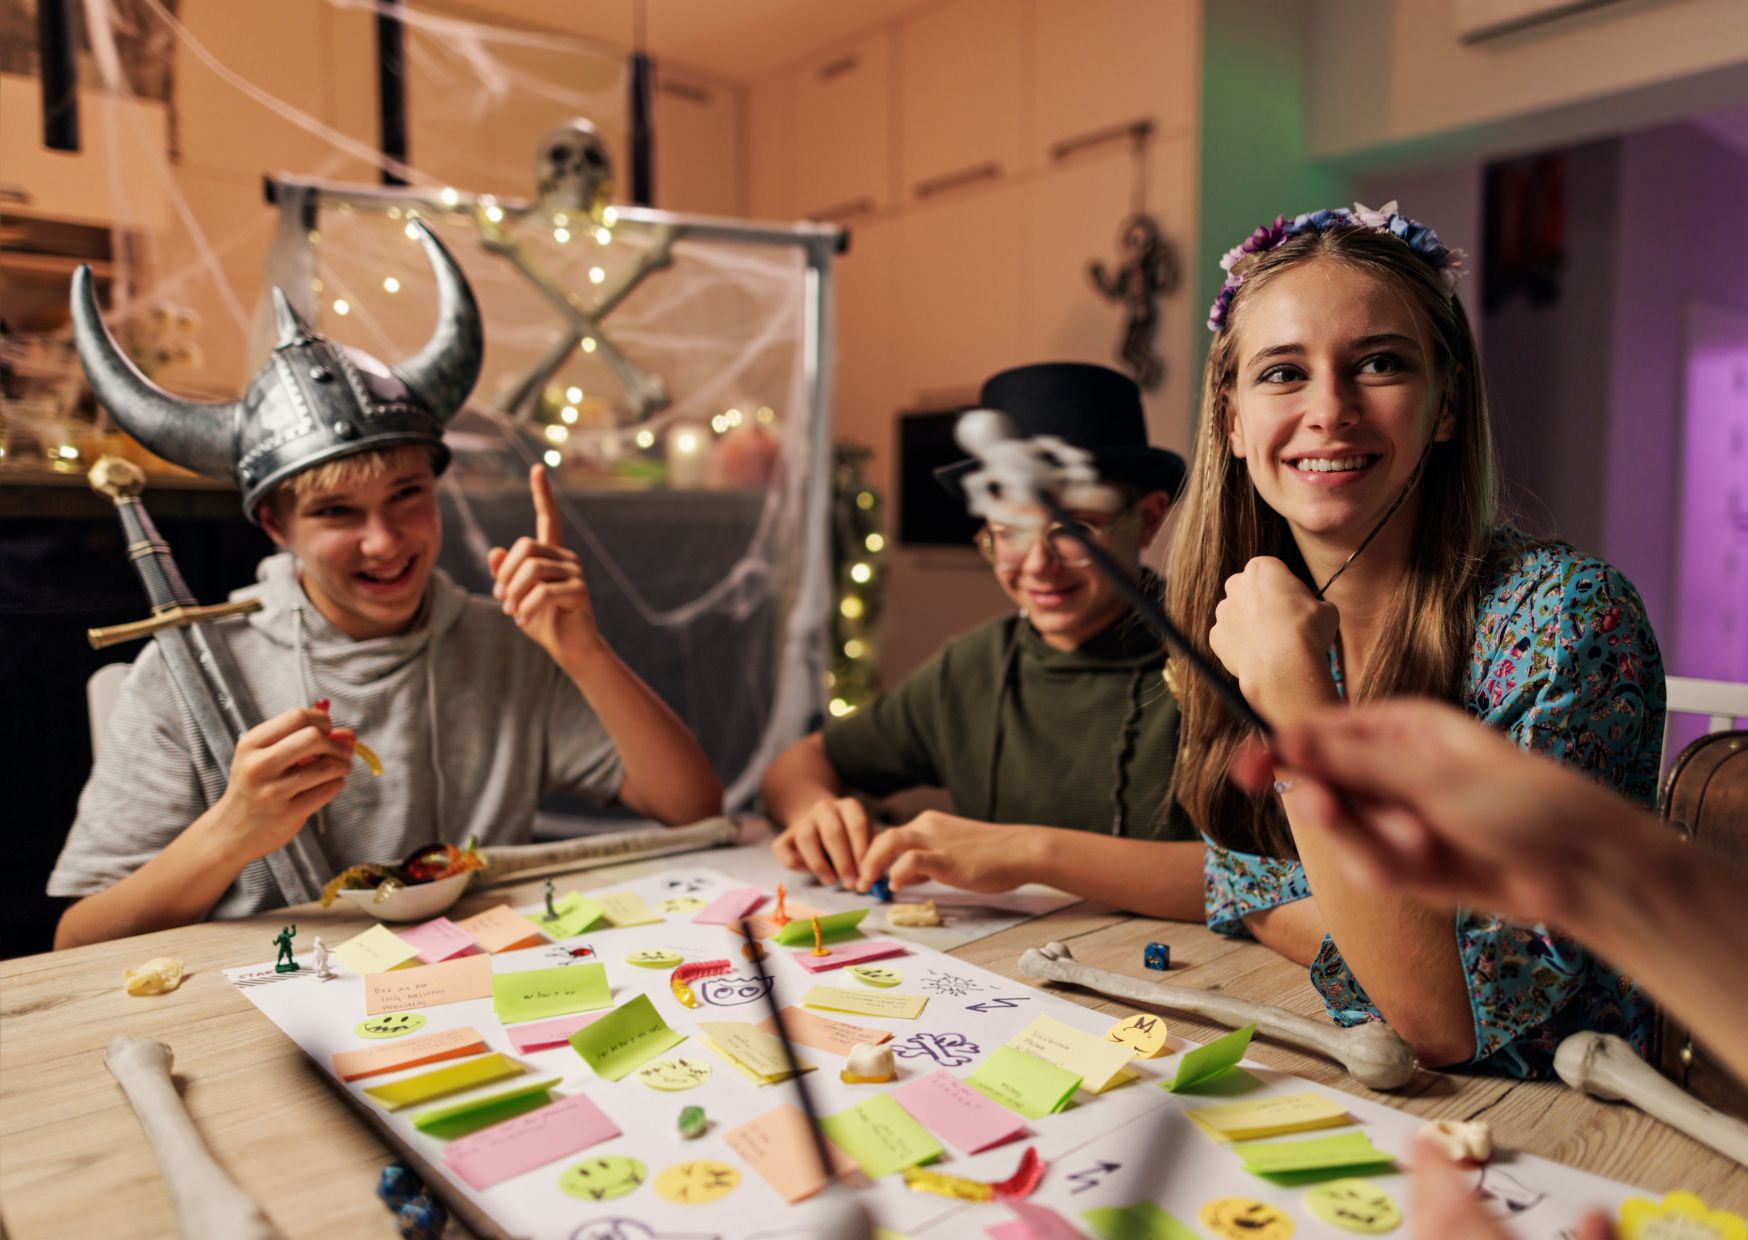
Designing a custom board game is a fun and imaginative Father’s Day craft that can be tailored to reflect dad’s hobbies or interests. This is a great project for family members to engage in together, creating something that can be enjoyed for years to come.
Materials Needed:
- Large poster board or cardboard for the game board
- Markers, paints, and brushes
- Small objects or toys to use as game pieces
- Dice or cards (if necessary)
- Ruler and scissors
Steps:
- Design the Game Concept:
- Brainstorm ideas that reflect dad’s interests, such as a sports theme, travel adventure, or a fantasy quest.
- Create the Game Board:
- Draw the layout on a poster board or cardboard. Use a ruler for straight lines and divide the board into spaces or regions according to the game rules.
- Make Game Pieces:
- Use small toys, custom clay figures, or even printed images on cardboard as game pieces.
- Write the Rules:
- Develop and write down clear game rules. Ensure they are easy to understand and that the game is enjoyable for all ages.
- Decorate:
- Decorate the game board and pieces using paints and markers.
Tips for Successful Crafting
When planning Father’s Day crafts, especially preschool crafts for Father’s Day, good preparation is essential. Start by gathering all necessary materials like paper, scissors, glue, and paint. Set up a designated crafting area that’s tidy and well-lit to keep everything within easy reach and ensure a smooth crafting session. Placing protective coverings like old newspapers or a tablecloth can also simplify cleanup later. This organized approach helps keep the little ones focused and engaged in their craft-making.
Involving Dad in the crafting process can make the experience more memorable. Whether it’s helping with the design or simply providing encouragement, his participation can be a great way to bond and make the craft even more special. However, always prioritize safety, especially when projects involve small parts or tools. Ensure that any sharp or potentially dangerous tools are handled by adults or under close adult supervision to keep everyone safe while enjoying their creative time together.
Wrapping and Presentation
When it comes to wrapping your DIY Father’s Day crafts, adding a touch of creativity can make your gift even more special. Start by using simple materials like craft paper, which offers a clean and classic look. Embellish the package with twine for a rustic charm and consider using natural elements such as leaves or small branches for decoration. These additions not only enhance the aesthetic appeal but also give a personal touch that shows extra thought and care went into every aspect of the gift.
Don’t forget to include a personal note with your Father’s Day craft. A handwritten card expressing your love and appreciation adds a heartfelt finish to your gift. This personal touch is often cherished just as much as the craft itself, making the present truly memorable. Writing a message from the heart to dad will let him know just how much he means to you, elevating the overall gifting experience.
Conclusion
Creating a handmade gift for Father’s Day is not just a fun activity, but it also carries a deep personal significance. Father’s Day crafts allow you to express your creativity while showing your affection in a unique and meaningful way. These Father’s Day craft ideas tend to hold more sentimental value for dads as they reflect the time, thought, and love put into them. This Father’s Day, take the opportunity to craft something special. Whether it’s a painted tie, a custom keychain, or a heartfelt scrapbook, your personal touch will make the day unforgettable for your dad. Embrace the joy of crafting and make this Father’s Day stand out by giving a piece of your heart through your creation.

