Introduction
Stretching your own canvas allows you to fully customize the size and shape for your unique artistic projects. While pre-primed canvases from art stores are readily available, they limit you to set dimensions that may not fit your needs. Learning how to stretch a canvas gives you total control and saves money in the long run. In this beginner-friendly tutorial, we’ll walk through the complete process of stretching a canvas from start to finish. We’ll provide easy-to-follow steps covering everything you need to know, from determining the right canvas sizing all the way to techniques for getting a perfectly taut, wrinkle-free surface.
Materials Needed

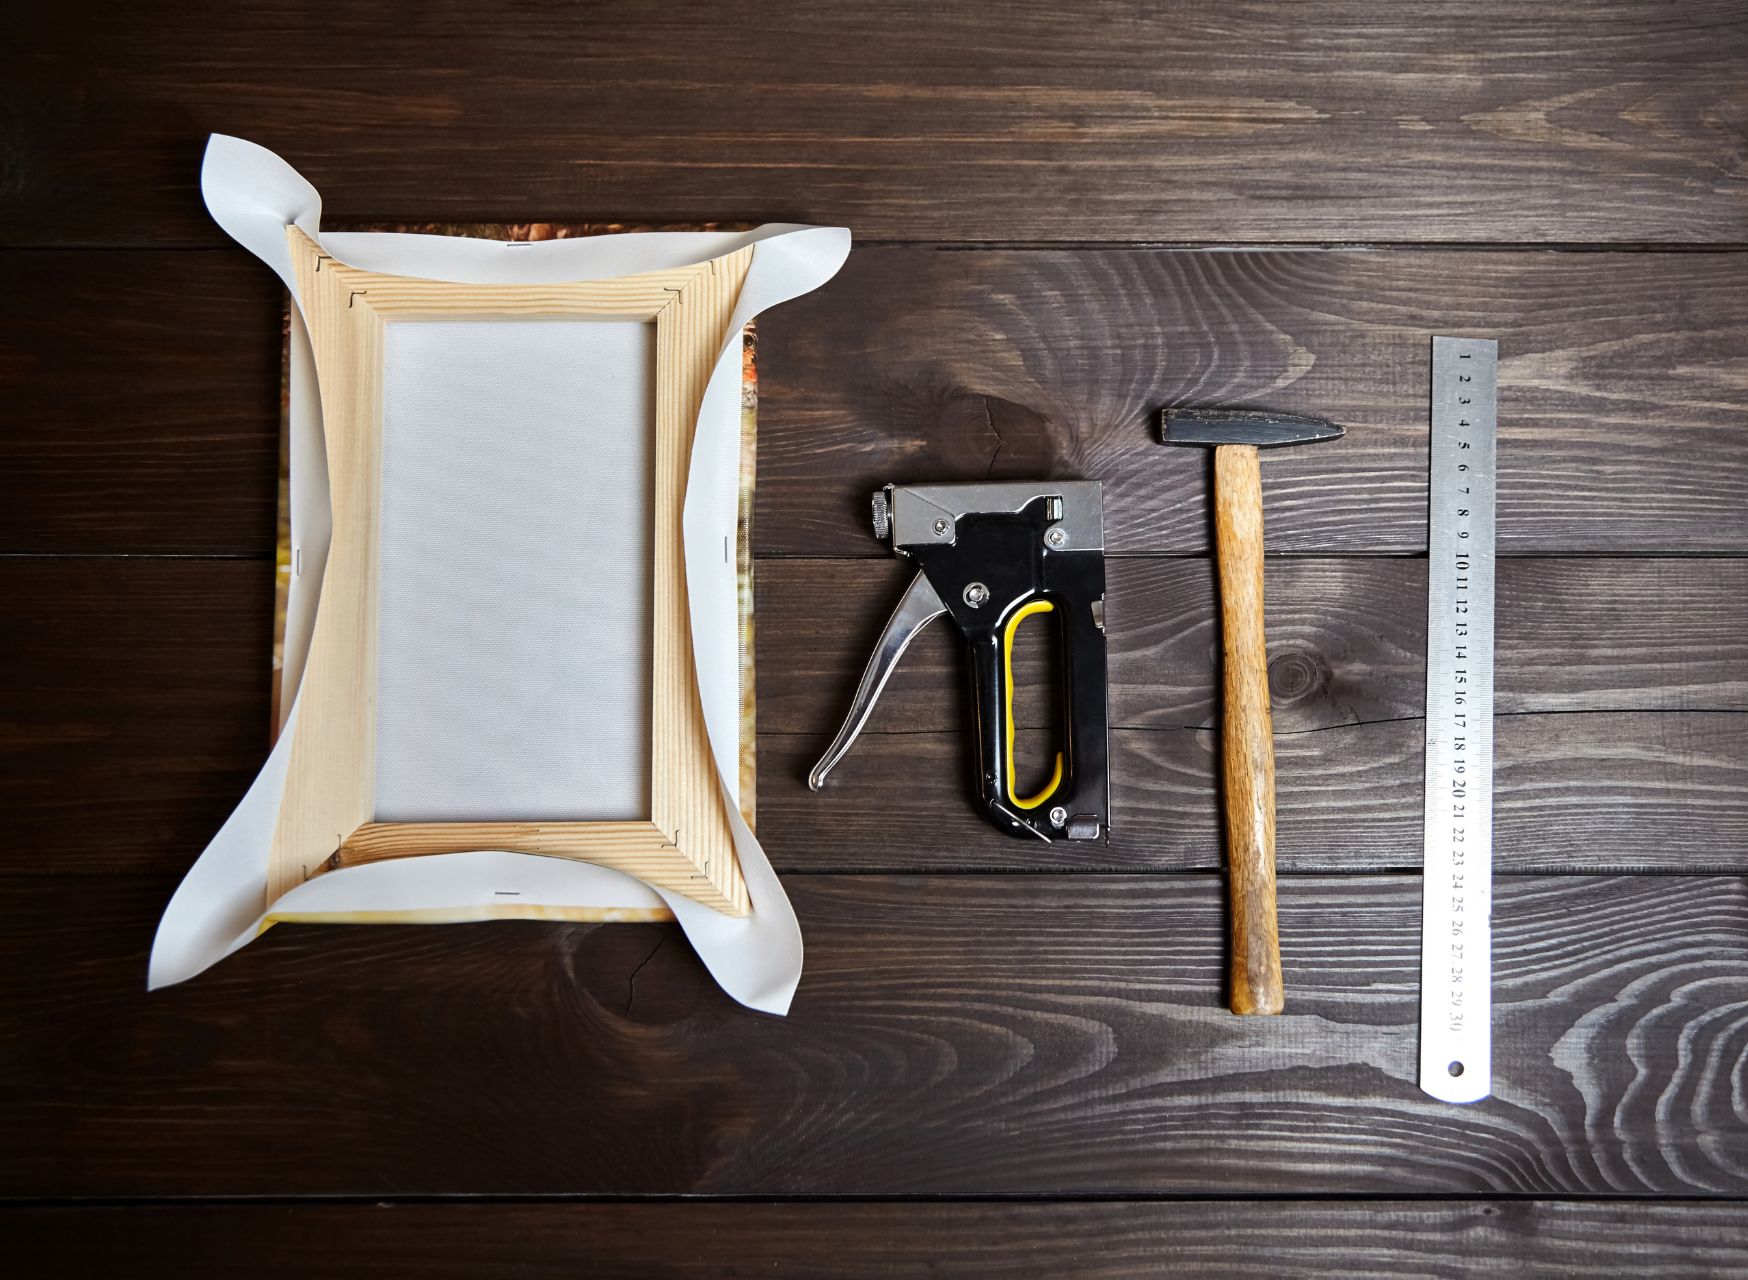
Stretching canvas on a frame requires gathering just a few key supplies. Having these materials ready before starting will make the process much smoother. The essential items you’ll need include:
- Stretcher Bars/Strainers – These wooden stretcher bars come in interlocking sections that assemble into a frame for the canvas. Get bars in the exact dimensions for your canvas size.
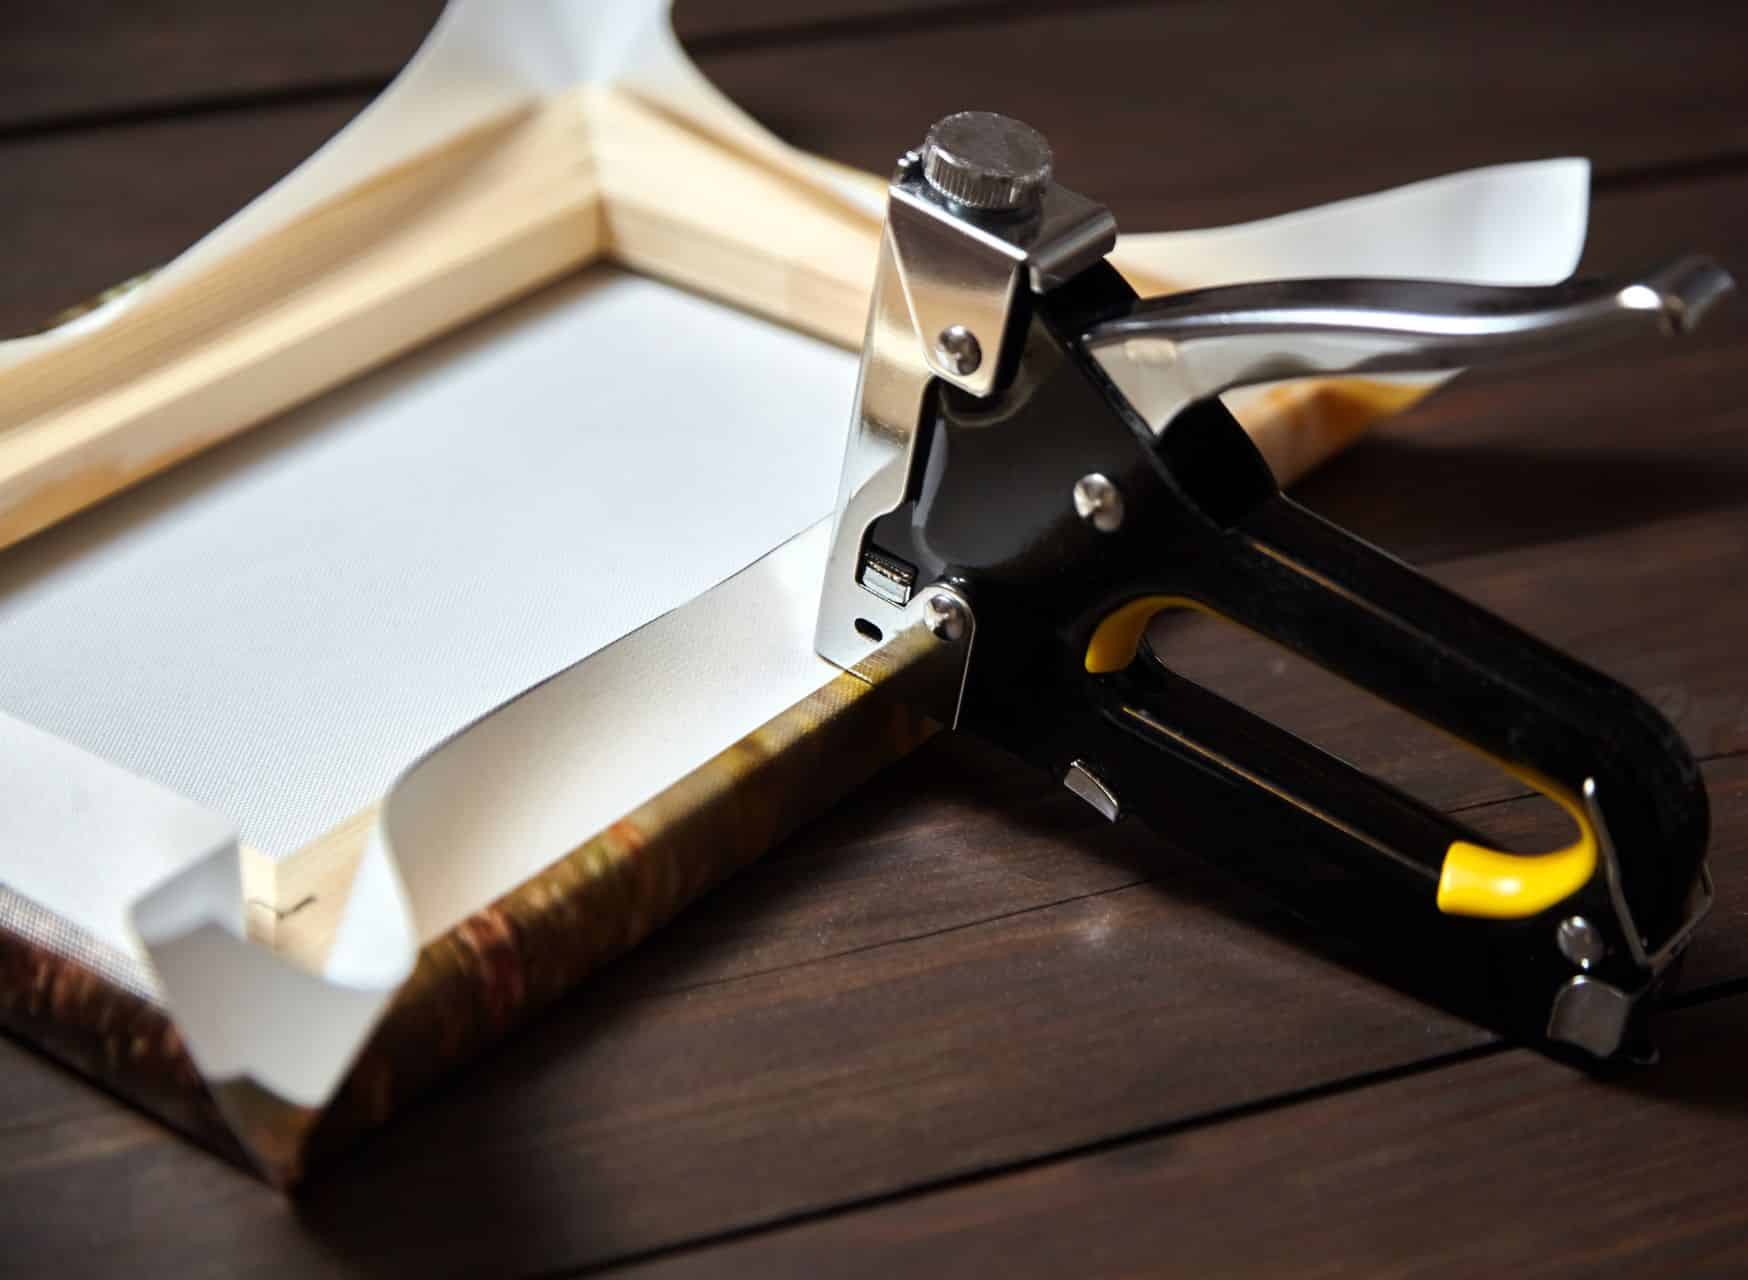
- Staple Gun and Staples – An electric or manual staple gun allows you to securely attach the canvas fabric to the wooden frame. Make sure you have enough staples loaded.
- Pliers – Pliers help when joining the stretcher bar corners and provide a better grip when pulling the canvas fabric taut.
- Canvas Fabric – Canvas or linen designed for painting are the best fabric options. Pre-primed canvas works too. Get a few inches larger than your frame.
- Gesso (optional) – Gesso creates a smooth primed surface on the stretched canvas. Multiple coats are applied and sanded once dry.
Having these supplies on hand will set you up for success before starting the process of how to stretch a canvas on a frame. Don’t forget the staple gun, stretcher bars, and canvas – they’re essential! With the right materials, you’ll be ready to create pristine painting support.
Step-by-Step Tutorial: How to Stretch a Canvas
Cut the canvas fabric to size

Start by cutting your canvas fabric to the approximate size of your stretcher bars. It’s better to make it several inches larger on all sides to give enough excess for pulling and stapling the fabric tightly.
For example, if your stretcher bars are 20″ x 24″, you’ll want to cut your canvas more like 26″ x 30″ before attaching it. Having that extra material to work with is key for stretching canvas prints evenly across the frame.
Measure carefully and use sharp scissors or a rotary cutter to neatly cut your canvas to the desired dimensions. Don’t cut too close to the frame size yet though. Leaving that extra fabric allows tensioning and prevents mistakes.
Remember, it’s always easier to trim off excess canvas later if needed. But you can’t add more if you cut it too small! Initially sizing up the canvas fabric ensures optimum stretching results.
Assemble the stretcher bars into a frame

Take the stretcher bars and insert one end into the next to connect them into a square or rectangular frame.
Tap the joints lightly with a hammer to get a nice tight fit and precise 90-degree angles. This will provide a sturdy base for stretching canvas artwork.
Double-check that the frame is properly squared by measuring the diagonals. Make small adjustments by tapping corners until the measurements are equal.
Stretcher bars often come with metal brackets you can attach at the corners for extra strength when stretching canvas artwork and additional points to staple the canvas too.
Assembling the bars neatly into a well-joined frame is an important first step to ensure the canvas artwork can be stretched smoothly and evenly over the strainer.
Lay the canvas fabric over the frame

Start by centering the canvas on the back of the assembled frame. Make sure there’s an even overhang of fabric on all sides.
For beginners learning how to stretch a canvas, it helps to lightly tack the corners first to hold the fabric in place. This keeps it from shifting when you start pulling.
Begin to gently pull the canvas fabric taut from each side, working in a crisscross pattern. Smooth any wrinkles as you go.
Continue crisscrossing pulling and smoothing until the canvas is evenly draped over the frame with no visible wrinkles or creases before you begin stapling.
Staple one side of the canvas print

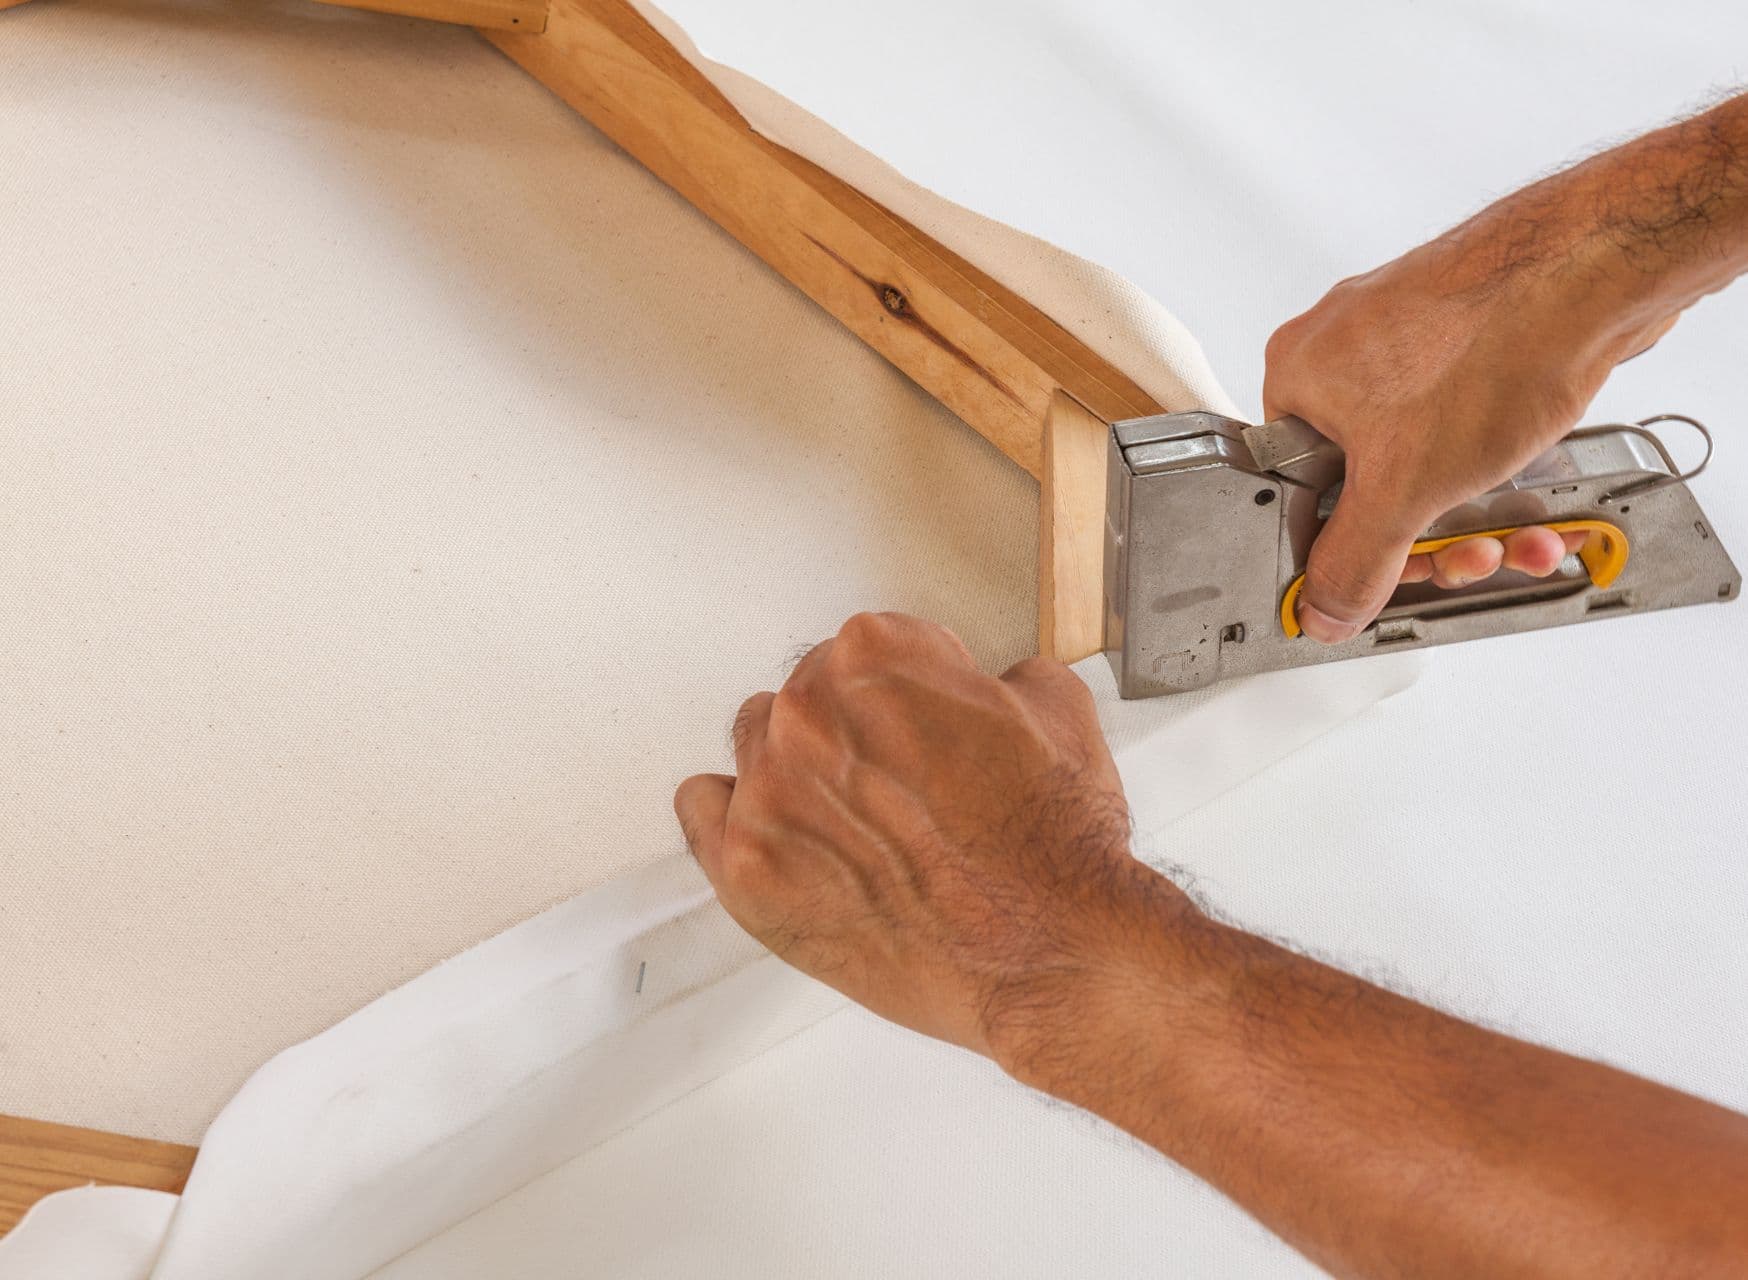
Now that the canvas print is centered and pulled tautly, you can start stapling it to the frame. Begin at the center of one side.
Position the first staple about 1-2 inches from the frame, pulling the fabric tight. Staple gun manuals often recommend starting about 2 inches from the edge.
When learning how to stretch a canvas print, it helps to put a hand on the opposite side of the frame when stapling to keep tension.
Continue placing staples outward from the center about every 1-2 inches. Keeping even tension as you work your way to the corners is key for how properly stretch a canvas print.
Make sure to keep the canvas print fabric fully smoothed and without any puckers. Stapling the first side sets the foundation for getting a wrinkle-free surface.
Stretch and staple the opposite side of the canvas frame

After the initial side is attached, grab the opposite side of the wooden frame and pull firmly away from the stapled edge.
This helps maximize tension and keeps the fabric taut when stretching canvas frames. The crisscross stretching is key.
While holding the stretched position, place staples along this opposite side every 1-2 inches just as you did on the first side.
Keep an even tension across the entire surface as you work your way stapling the length of the canvas frame side.
Having a friend help by holding the stretched position makes this easier when first learning techniques for properly stretching canvas frames.
Staple each side being careful not to over-stretch the fabric. The balance of tension is important for getting a smooth surface
Repeat with the other sides
After getting the initial two sides stretched and firmly stapled, repeat the same process for the remaining sides.
Grab an unstapled side and pull it taut away from the stapled edges to maximize tension across the canvas surface.
While holding the stretched position, staple along the edge every 1-2 inches, just as you did for the first two sides.
Complete the same procedure for the final fourth side. Keep even pressure across the entire canvas.
Once all four sides are pulled, smoothed, and securely stapled, you can trim off any excess canvas fabric.
Use scissors or a utility knife to neatly trim the material close to the frame. Be careful not to cut the stapled canvas.
Visually inspect the overall tension and make any adjustments needed before moving on.
Apply gesso (optional)

Gesso is a primer that provides a smooth, bright white surface for painting. It helps seal the canvas fabric too.
Use a soft brush to apply 2-3 thin coats of acrylic gesso over the entire surface, allowing it to fully dry between coats.
Sand lightly with fine grit sandpaper after the last coat dries for an ultra-smooth finish.
When learning how to stretch a canvas for beginners, using gesso helps create the ideal surface to start painting on.
If desired, skip the gesso and begin painting directly on the raw canvas for a different textured look. It’s an artistic preference.
Conclusion
In summary, mastering the art of how to stretch a canvas can truly transform your painting experience. Remember the key steps: start with a high-quality canvas, measure and cut it to the desired size, and ensure you have a sturdy, flat surface for stretching. When applying tension, keep a firm hand while stapling to maintain that flawless, wrinkle-free surface that sets the stage for artistic brilliance.
As you embark on your canvas stretching journey, don’t forget these helpful tips: take your time and stay patient throughout the process, paying close attention to evenness and alignment. Additionally, keep a watchful eye on the canvas tightness periodically, especially during the stretching and stapling stages. This will ensure your artwork maintains the professional touch it deserves, leaving you with an impeccable canvas ready for your artistic genius to shine.
Stretching a canvas may seem like a daunting task, but with practice and dedication, you’ll soon find yourself mastering the technique. So, seize this opportunity to create stunning works of art with a tight, smooth canvas as your artistic canvas awaits your next masterpiece. Happy stretching!
The editorial team at Cubebik Blog is a group of dedicated individuals with a passion for words and a commitment to quality. They work tirelessly to ensure that every article is well-researched, informative, and error-free.

