Introduction
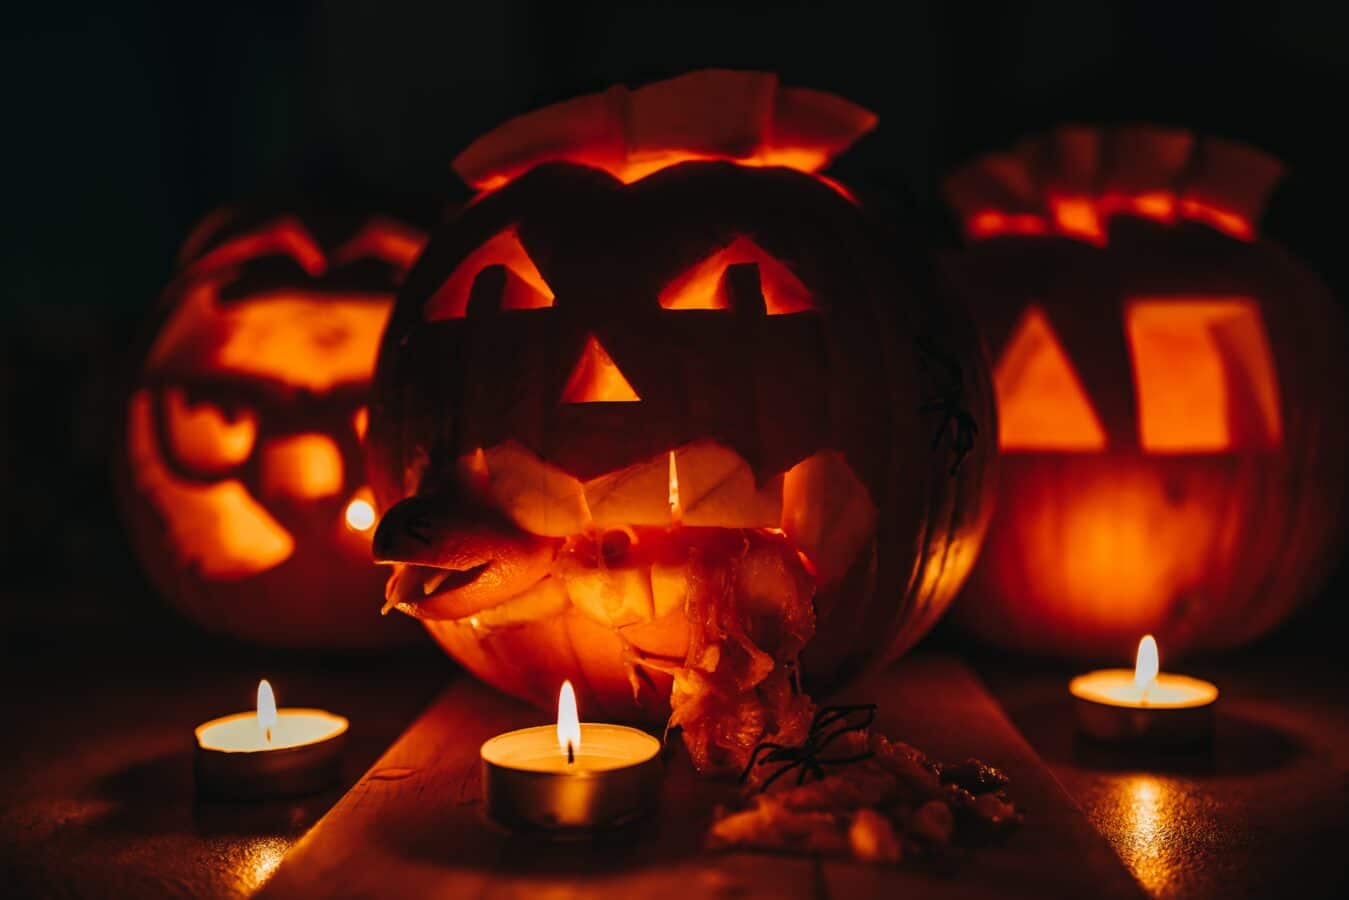
Get ready for Halloween with our comprehensive guide on how to make a Halloween Jack-O-Lantern. Carving a Jack-O-Lantern is a timeless Halloween tradition that adds a touch of eerie charm to your celebrations. In this step-by-step DIY guide, we will show you how to create the perfect Halloween Jack-O-Lantern, ensuring your pumpkin carving skills are on point for the spookiest night of the year.
How to Make a Halloween Jack-O-Lantern: A Step-By-Step DIY Guide
What You’ll Need
Before we dive into the carving process, let’s gather all the essential tools and materials:
Materials:
- A large, ripe pumpkin
- Newspapers or a plastic tablecloth (to protect your workspace)
- A marker
- A pumpkin carving kit or carving tools (available at most craft stores)
- Tea light candles or battery-operated LED candles
- A scoop or large spoon
- Paper towels
Optional Decorations:
- Stencils for carving designs
- Paints and brushes
- Glitter or sequins
- Costumes for your Jack-O-Lantern (mini witch hats, anyone?)
Selecting the Perfect Pumpkin
The foundation of a great Jack-O-Lantern is a carefully chosen pumpkin. Follow these tips to pick the ideal one:
Size Matters
Choose a pumpkin that suits your design plans. For intricate carvings, smaller pumpkins work best, while larger ones are ideal for traditional faces.
Inspect for Flaws
Examine the pumpkin for any soft spots, bruises, or moldy areas. A healthy, blemish-free pumpkin will last longer.
Sturdy Stem
Ensure the stem is sturdy and firmly attached. A strong stem not only looks better but also helps the pumpkin last longer.
Carving Your Jack-O-Lantern
Now that you have the perfect pumpkin, let’s start carving!
Step 1: Prepare Your Workspace
Lay out newspapers or a plastic tablecloth to catch the pumpkin innards and prevent a messy cleanup later.
Step 2: Cut the Top
Using a serrated knife at a slight angle, carefully cut a circle around the stem of the pumpkin to create a lid. Make sure the opening is large enough to reach inside.
Step 3: Scoop Out the Insides
Grab your scoop or large spoon and start removing the seeds and stringy flesh from the pumpkin. You can save the seeds for roasting later!

Step 4: Transfer Your Design
Using a marker, draw your desired design on the pumpkin’s surface. You can also use stencils for more intricate patterns.
Step 5: Start Carving
With your pumpkin carving tools, carefully follow the outline of your design. Take your time and use a gentle sawing motion for smoother edges.
Step 6: Light It Up
Place a tea light candle or battery-operated LED candle inside your Jack-O-Lantern. Replace the lid, and your creation will come to life!
Safety Tips
As you create your Halloween masterpiece, remember these safety precautions:
- Supervision: If kids are involved, ensure they are supervised while handling sharp tools.
- Candle Safety: Use LED candles to prevent fire hazards, especially if you have young children or pets.
- Stability: Make sure your Jack-O-Lantern is placed on a stable surface to prevent tipping over.

Conclusion
Congratulations, you’ve successfully crafted your Halloween Jack-O-Lantern! These glowing pumpkins are sure to be the highlight of your spooky decor. Share your creation with friends and family, and remember to stay safe during your Halloween festivities.
Frequently Asked Questions (FAQs)
The editorial team at Cubebik Blog is a group of dedicated individuals with a passion for words and a commitment to quality. They work tirelessly to ensure that every article is well-researched, informative, and error-free.

