Introduction
Christmas is upon us, and what better way to usher in the festive spirit than with beautifully crafted stockings adorning your mantelpiece? In this step-by-step tutorial, we’ll guide you on how to make a Christmas stocking by creating bespoke stockings that will not only add a touch of charm to your décor but also become cherished keepsakes for years to come.
Choosing the Right Fabrics and Patterns
Before diving into the crafting process of how to make a Christmas stocking, it’s crucial to select the perfect fabrics and patterns that resonate with your style. We recommend choosing high-quality fabrics such as linen, cotton, or a blend of both. Consider incorporating complementary patterns such as classic plaids or elegant damasks to enhance the visual appeal.

Recommended Materials:
- Linen fabric (0.5 yards)
- Cotton lining (0.3 yards)
- Thread (matching fabric colors)
- Fabric scissors
- Sewing machine or needle and thread
- Decorative embellishments (optional)
Pattern and Cutting
Creating a Tailored Pattern

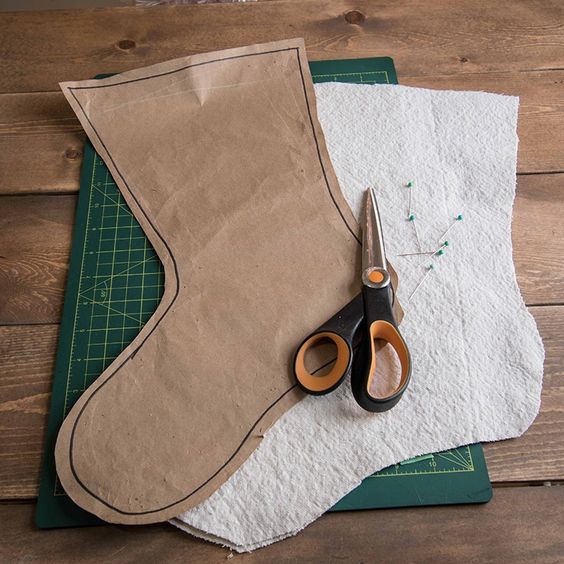
Begin by sketching a pattern on a piece of paper. This pattern will serve as a blueprint for your stocking. Ensure it complements your desired size and shape. A classic stocking typically measures around 18 inches in length and 10 inches in width at the top.
Transferring the Pattern
Once you’re satisfied with the pattern, carefully transfer it onto your chosen fabric. Use a fabric pencil or chalk for precise markings. Remember to mark both the outer fabric and the lining.
Cutting with Precision

With steady hands and sharp scissors, cut along the marked lines. Take your time to ensure clean and even edges. This attention to detail will elevate the final result.
Assembling the Stocking
Stitching the Seams
Begin by aligning the outer fabric and the lining, ensuring the right sides face each other. Secure them in place with pins. Next, stitch along the edges, leaving the top open for turning.

Turning and Pressing
Gently turn the stocking right side out, being careful not to distort the seams. Use a pointed tool to push out any corners for a polished finish. Press the stocking to eliminate any creases.
Adding Personal Touches
Embellishments and Decorations
This is where your creativity truly shines. Consider adding decorative elements like ribbons, buttons, or appliques to the Christmas stocking. These details not only enhance the visual appeal but also make the stocking uniquely yours.
Optional: Embroidery or Monogramming

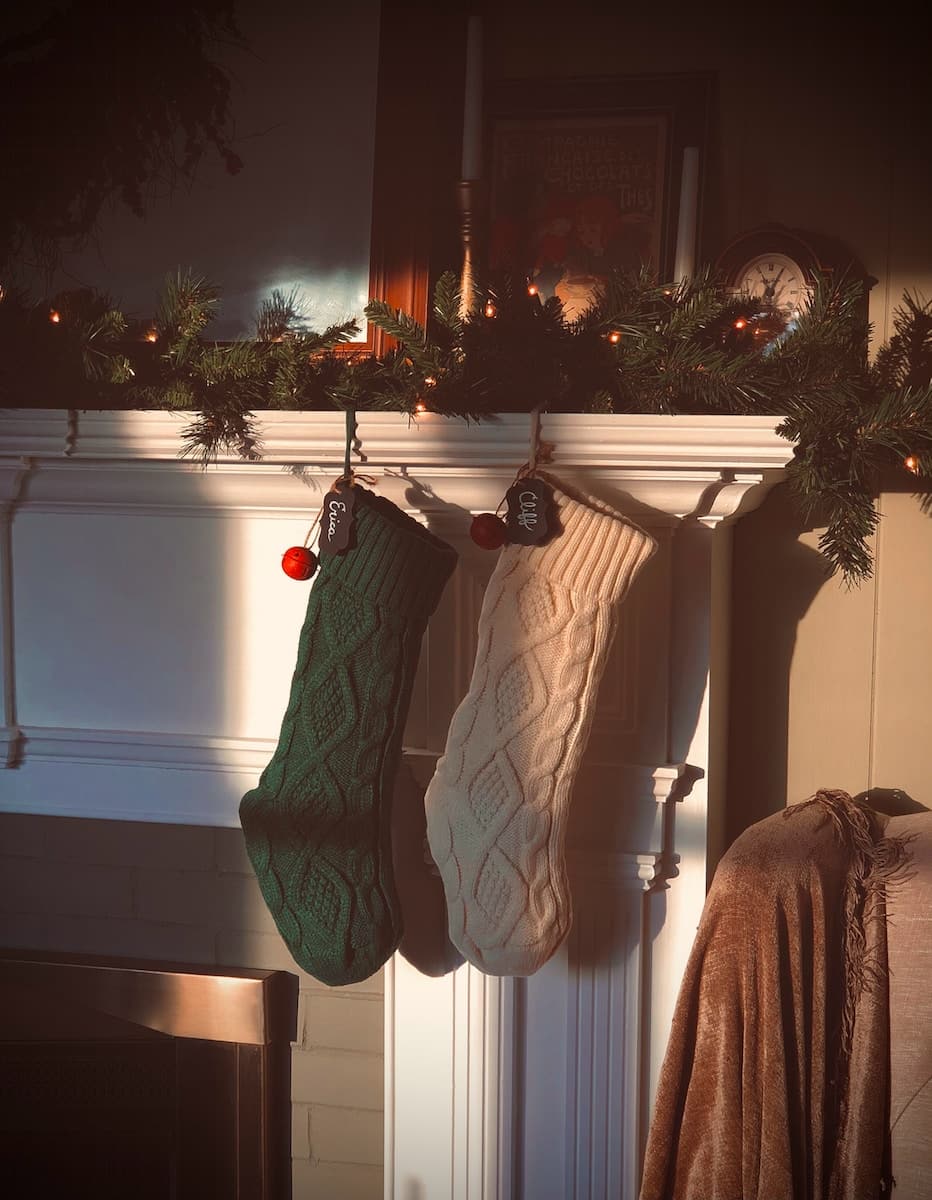
For a truly personalized touch, consider adding initials, names, or even memorable dates using embroidery or appliqué techniques. Christmas stocking personalised not only creates a sentimental connection but also makes for a delightful gift option.
Hang It Right

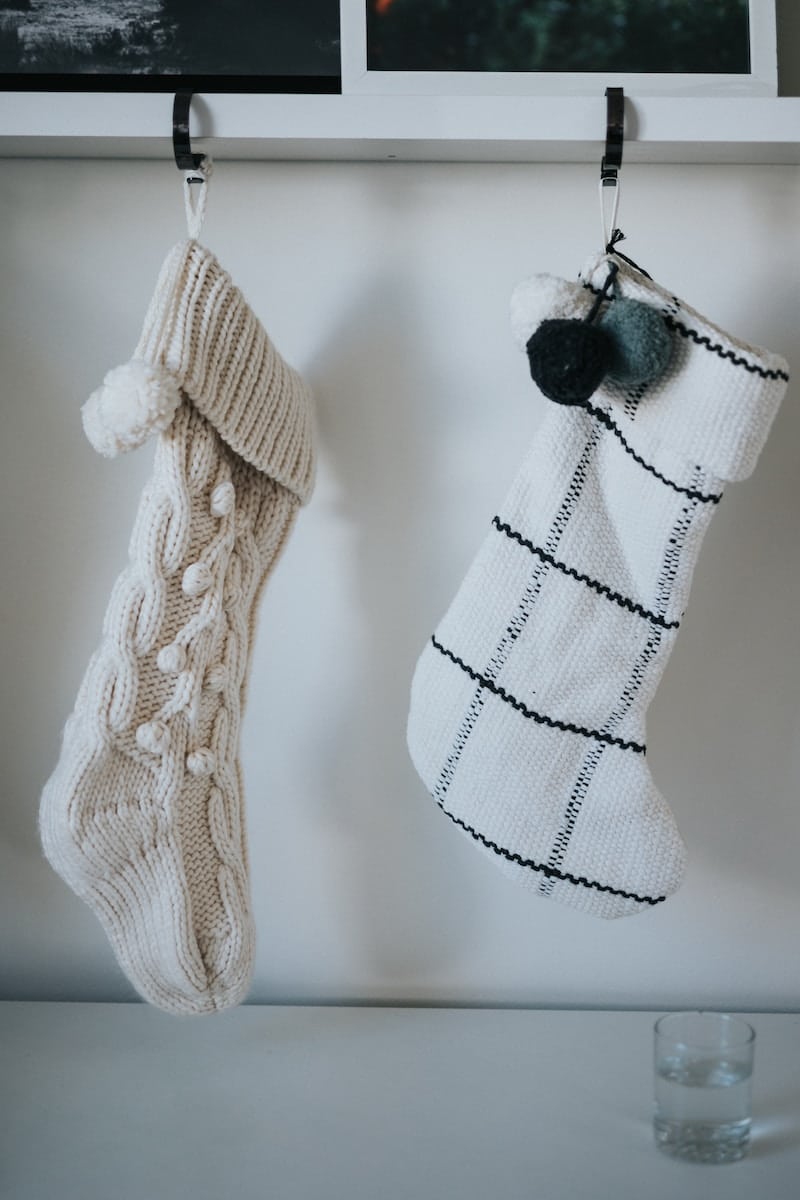
Properly hanging your stockings is key to their visual impact. Whether that Christmas stocking is beautiful or not not only depends on how do you make a Christmas stocking but also on the way you hang it. Whether you opt for classic hooks, decorative pegs, or a creative DIY display, ensure they are securely fastened for an elegant presentation.
Incorporating Complementary Decor
To complete the holiday look, coordinate your stockings with other décor elements. Match them with your tree ornaments, wreaths, or even wrapping paper for a cohesive and visually pleasing aesthetic.
Storing and Preserving Your Creations
Once the holiday season comes to an end, proper storage ensures your stockings remain in pristine condition for years to come. Consider using acid-free tissue paper and a breathable storage bag to protect them from dust and humidity.
Conclusion
By following this easy stocking tutorial about how to make a Christmas stocking, you’ll not only create stunning holiday décor but also craft cherished memories for your family. Let’s enjoy your festive celebrations with these personalized stockings that exude warmth and charm.
The editorial team at Cubebik Blog is a group of dedicated individuals with a passion for words and a commitment to quality. They work tirelessly to ensure that every article is well-researched, informative, and error-free.

